Showing posts with label diy jewelry. Show all posts

Sunday, February 23, 2014

Seller Review: Brian Jenkins from Worn Elements

This Saturday was one of my friends birthday and I needed a gift. Not just any random gift, but something more personal and something she would like. I absolutely hate giving / getting "gift card" gifts, and any type of generalized gifts ( like Bath and Body Works sets and things of such nature ). I thought about making her a bracelet, but then remembered that she is obsessed with blue sea glass. Her obsession with sea glass is probably as bad as my obsession with beads. I knew I had to get her something with sea glass.

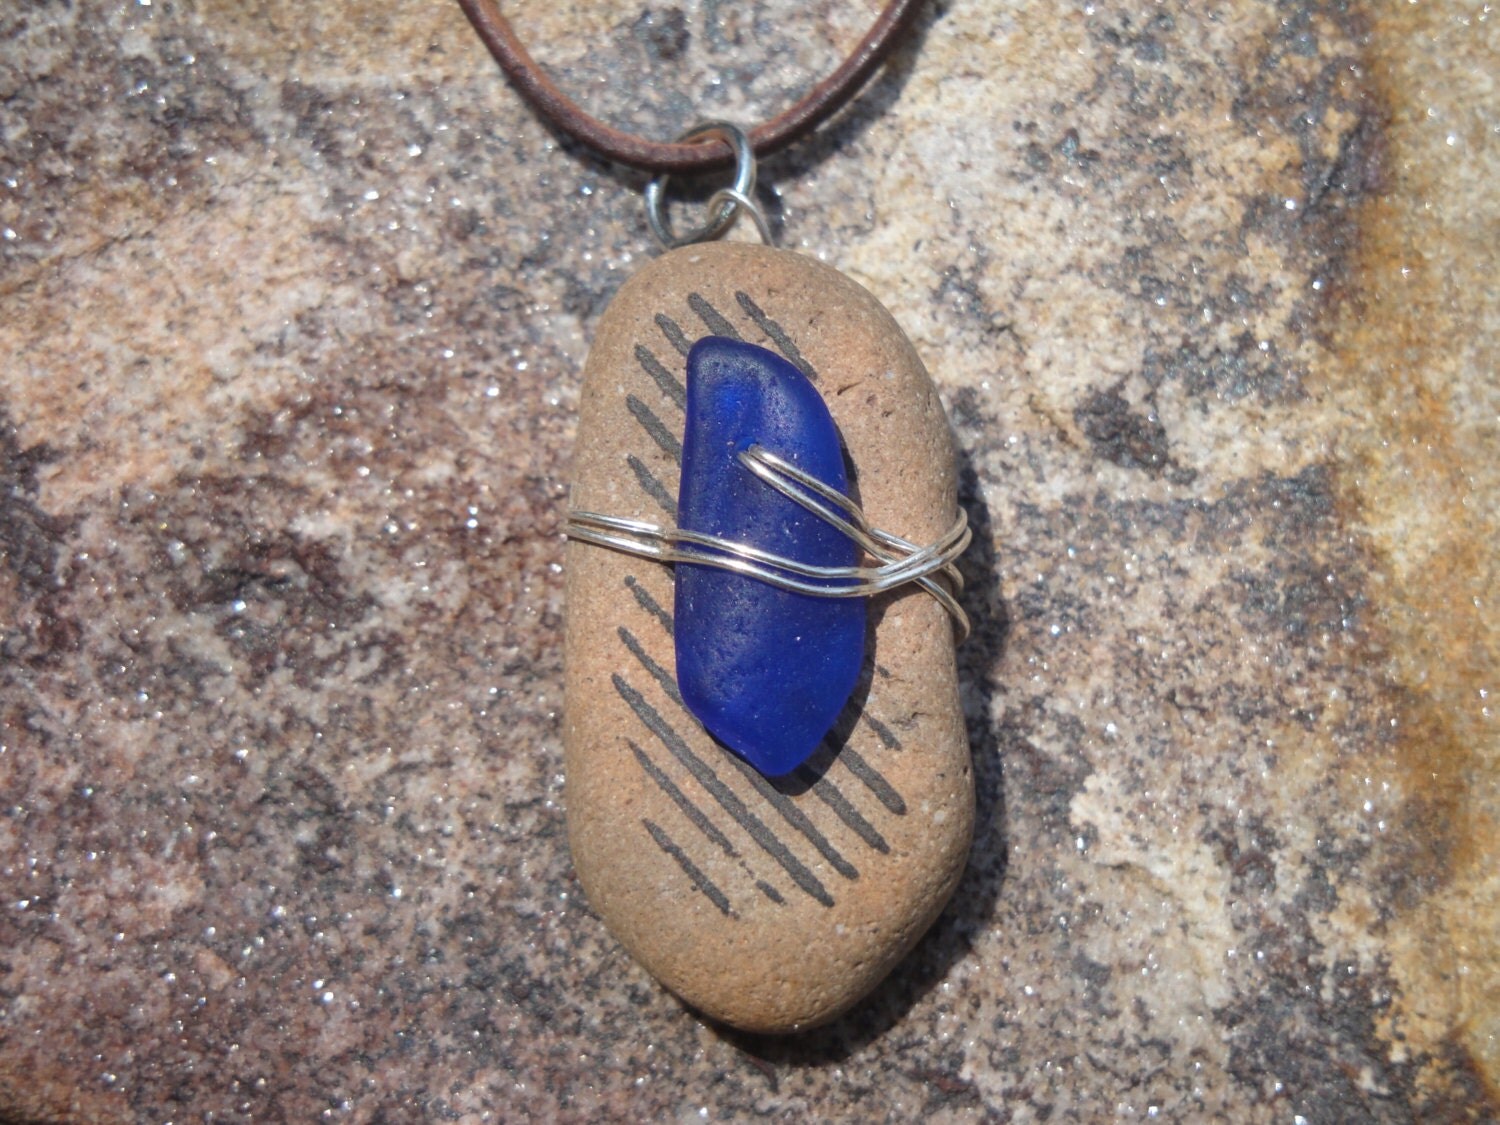
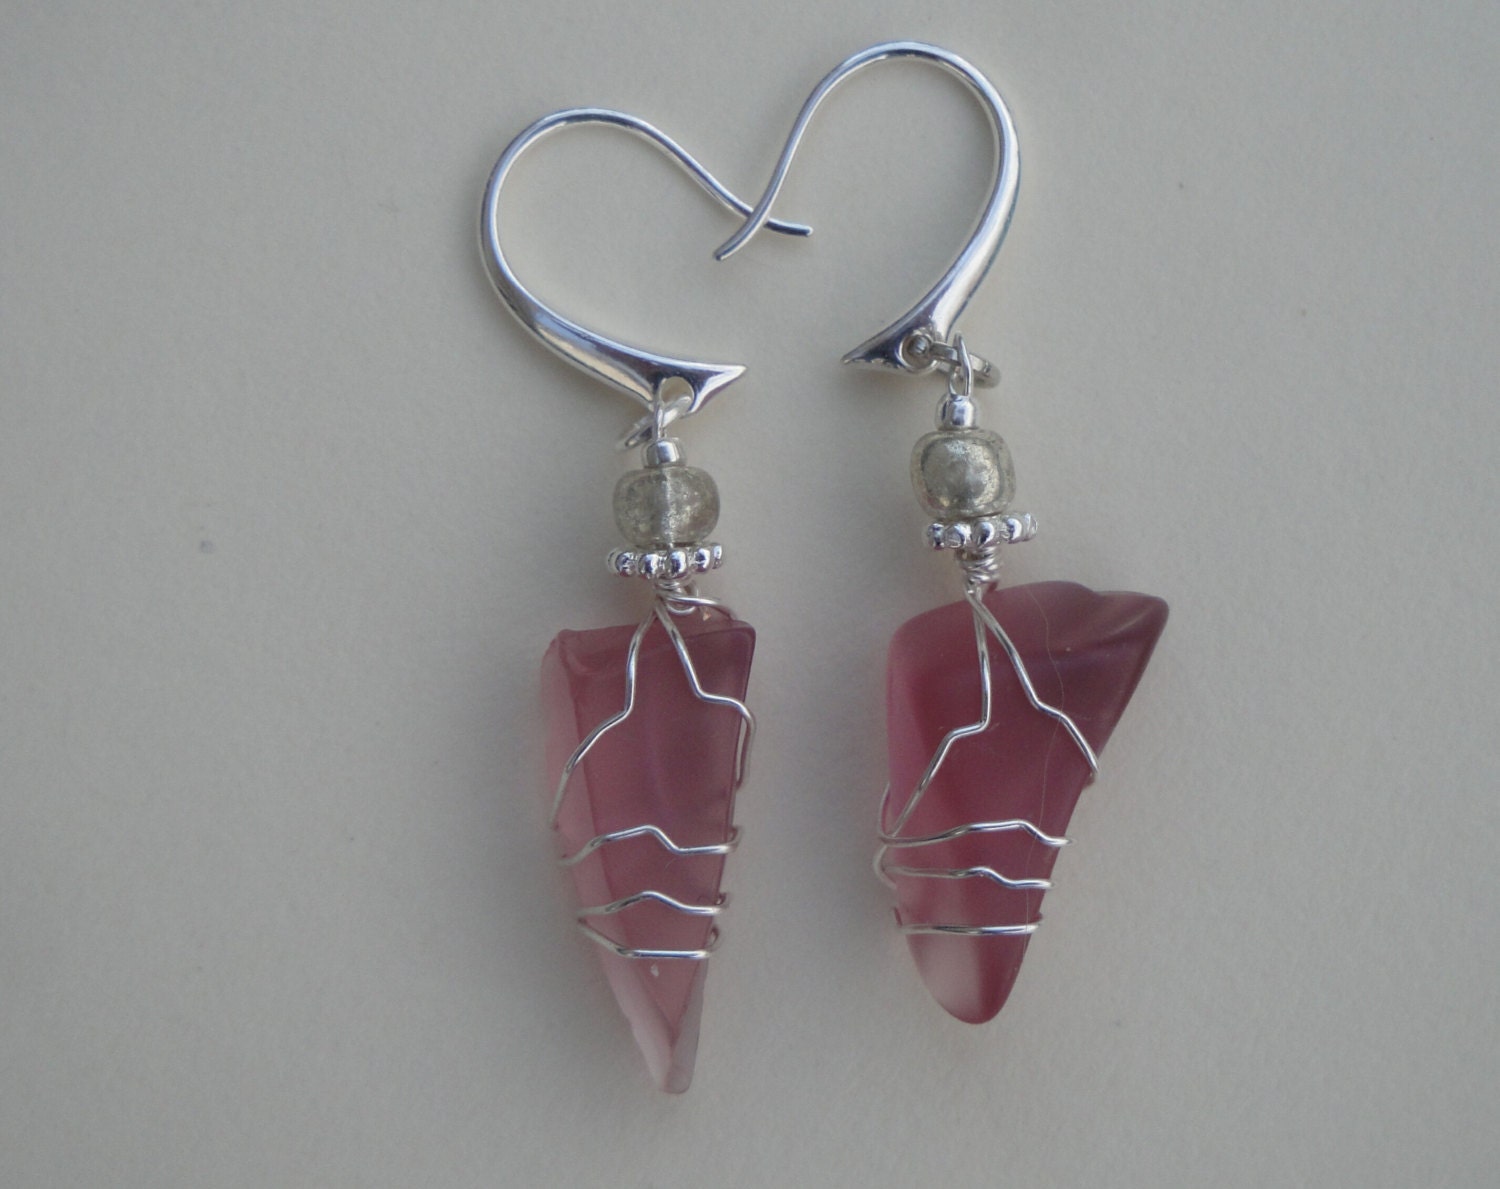
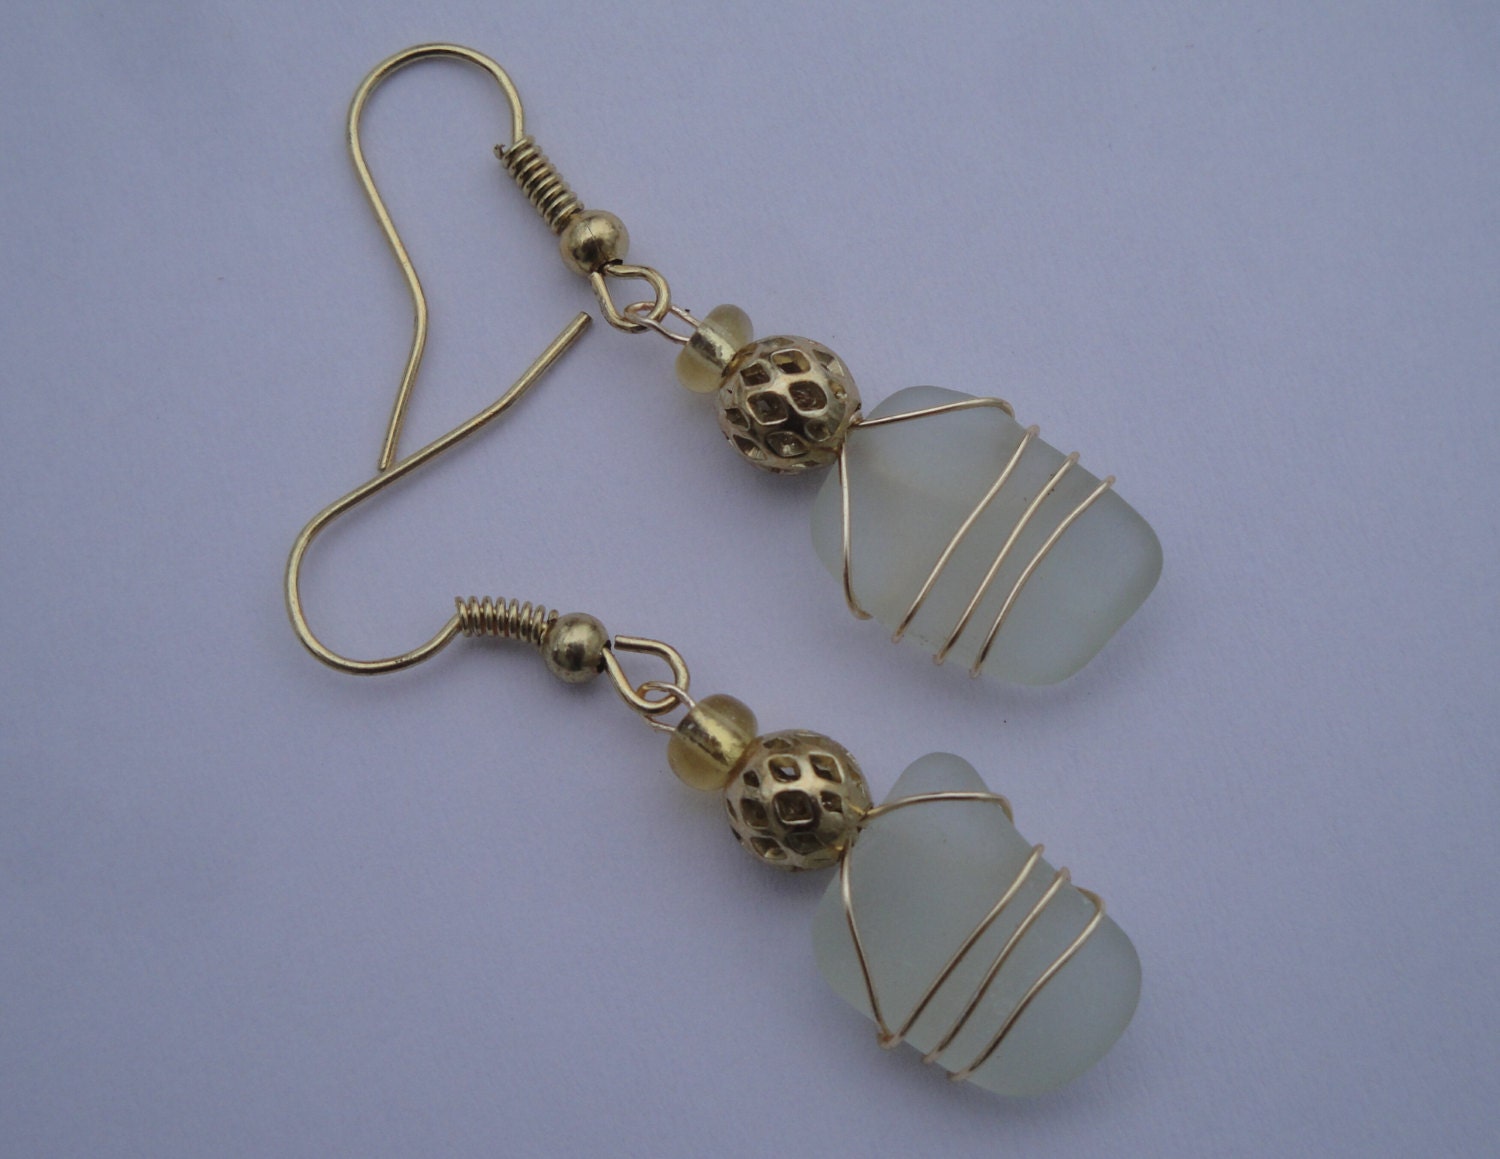
 As I researched "blue sea glass" on ETSY, I came upon a shop which was called "Worn Elements". Brian Jenkins, the owner of the shop handcrafted different jewelry using sea glass and sea pottery. The jewelry looked very neat, and most of all, he had a great selection of sea glass earrings, amulets and pendants. I knew I have hit a jackpot. 

As I looked though his site, I noticed that he had a very unique style of creating his jewelry. I also noticed that the wire was neatly wrapped around his designs ( which was a big plus, since some people don't take their time when wrapping wire around jewelry ). He used variety of beads and colors in his designs. Being in the jewelry making "business/hobby" myself you certainly begin to notice these things, and I feel like you become more aware and critical of the little details like that. 

I found a pair of blue sea glass earrings I absolutely loved. And I decided to purchase them on the spot. A few minutes later, Brian sent me a message thanking me for my order and letting me know that he will be shipping the earrings out today ( WOW !! Talk about super fast shipping ). 

Two days after I received my earrings. I wanted to open the package to see what they looked like. The timing was perfect as well. My friends birthday was on a Saturday and the earrings came on a Tuesday. 

Here is what the package looked like when I received it in the mail:


The earrings were neatly packaged into a bubble wrapped 8 x 6 yellow envelope ( which is a similar envelope I use for my own orders ). 


Upon opening the package, this is what I found inside. 


I began unwrapping the package with anticipation, but Brian made sure that the bubble wrapped was tightly secured around the earrings. I needed to get scissors to cut through the bubble wrap. 


First bubble wrap down, one more to go! I certainly did like the fact that the earrings were so secured with the wrap, that they were very not likely to get damaged by the mail carrier and in the process of delivery.


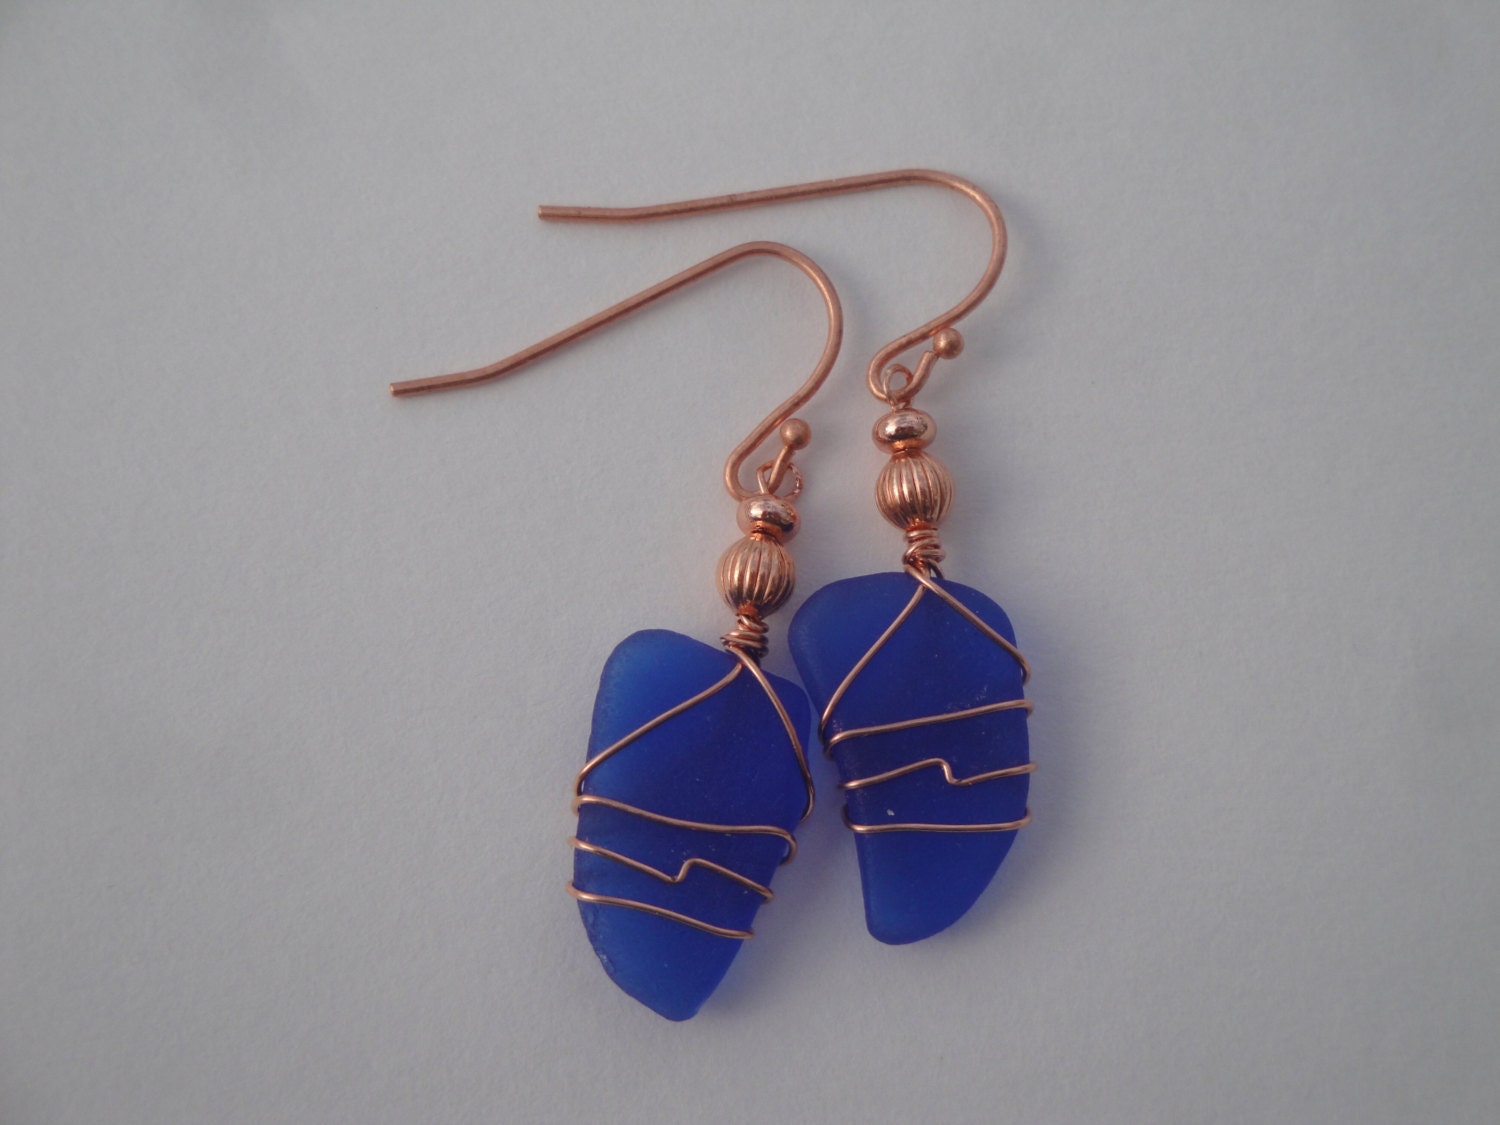
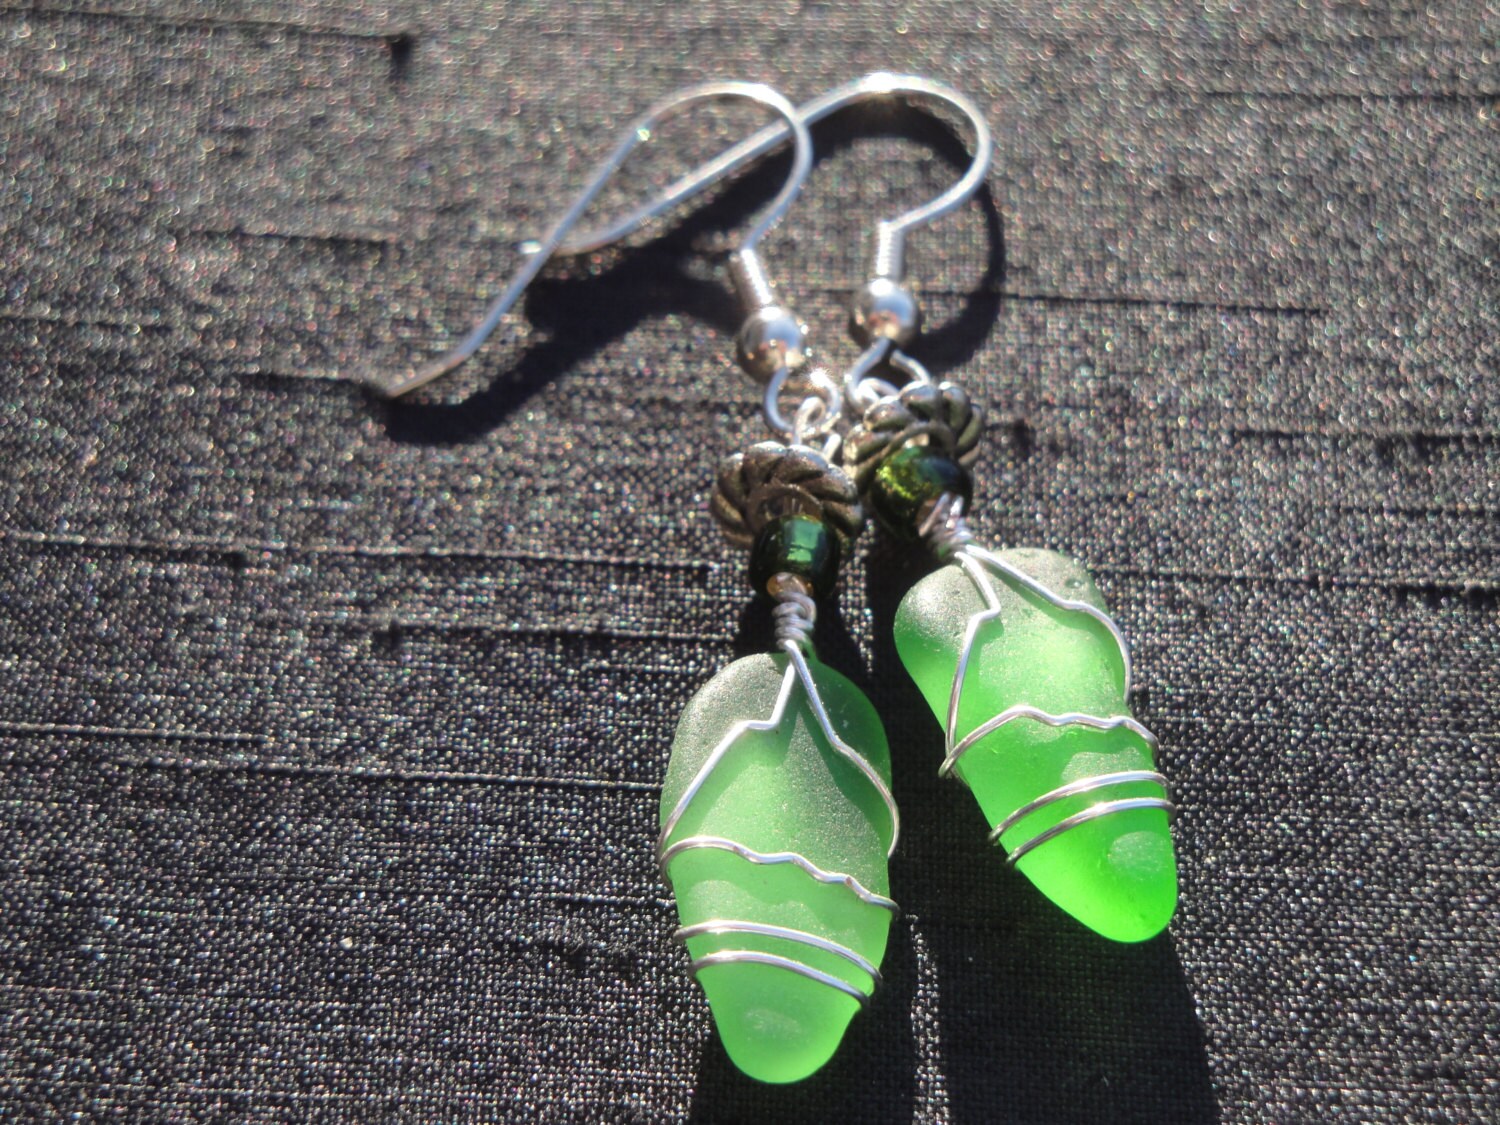
After finally unwrapping all of the bubble wrap I saw the earrings. Very beautiful, true blue color, just as I saw on his listing on ETSY. The earrings looked identical to the listing that I saw. They were about  1 1/2 inches long, wrapped neatly with silver wire. The back of the earrings had an earring closure, while the beads complimented the color of the sea glass. You could see that this sea glass is actually 100% authentic due to slight crevices made by the ocean. I really though this was cool because it added character to the earrings. This wasn't your "perfectly smooth" sea glass, which could also look fake, this was real sea glass and you knew it was one-of-a-kind jewelry. 
I'm not going to lie. I did consider keeping the earrings for myself for about 5 minutes.


Here is another close up of the earrings. 


On Saturday we went to my friends house. She had a small get together with a couple of her friends and family. I gave her my present and she ABSOLUTELY LOVED IT! She immediately took them out of the box and wore them for the rest of the night. MISSION ACCOMPLISHED!

I wanted to post this review about Brian Jenkins and his shop because I received a perfect gift for a friend, which was crafted with detail and attentiveness. His customer service was outstanding. He followed up with an e-mail after I have received the order to ask me how they turned out. Overall, the process of buying from Brian was hassle free and SUPER quick. I couldn't be happier with my purchase. 

Here are some of the other items from Brian's shop:


I think anyone who is looking for quality sea glass and sea pottery jewelry needs to definitely check out Brian's shop. This was a great buy and I will certainly be back for more!!


Sunday, February 16, 2014

DIY Stretch 3 Layer Bracelet Tutorial

      I discovered Joann's store pretty recently, when my co-worker mentioned that they offered 15% teachers discount on your total purchase. I checked it out. And, I must say, I was pleasantly surprised. Their bead selection wasn't a top notch one, but they had unique bead strands and 30% off sale on all of their beads ( big plus in my book ). They also offered a variety of discounted jewelry organizers and tons of supplies for creating wire wrapped jewelry ( one of my latest obsessions ). What I really liked is that they had awesome buttons. Vintage metal ones and plastic ones and whatever you wanted ( which I am crazy about for my leather wrap bracelets ). I bought a bunch of stuff for a very reasonable price and, like a kid in a candy store, got to work when I got home. Recently I was browsing their website and stumbled upon "Craft Ideas" section. They had 800 results from DIY jewelry projects. I browsed through them and found one that I wanted to try to make at home.

The project was called "Denim Blue Stretch Bracelet"  and it looked like this:


The directions said the following:

SUPPLIES & TOOLS:

  • Cousin®:
    Dark Blue Bead Mix (3 pk)
    8mm Matte Blue Beads (1 pk)
    8mm Blue Pearls (1 pk)
    Silver/Crystal 3-Strand Spacer (1 pk)
  • .8mm clear stretch cord (48')
  • Wire cutters
DIRECTIONS:
1. Cut (3) 12' lengths of stretch cord.
2. Thread the following pattern onto each cord: (8) dark blue beads, through the hole of a 3-strand spacer, (8) matte blue beads, through the hole of a 3-strand spacer, (8) blue pearls and through the hole of a 3-strand spacer.
3. Tie each cord in a double knot and trim the excess. The knots should be hidden against the 3-strand spacer.
4. Cut a 12' length of stretch cord.
5. Thread on (6) blue pearls, (6) matte blue beads, (6) dark blue beads and (6) matte blue beads.
6. Tie the cord into a double knot and trim the excess.
_________________________________________________________________________________
After reading the directions, I wanted wasn't too convinced I wanted to use the same exact colors as pictures, so I have decided to make the exact same bracelet, but use different colors. 
Here are the steps:


Step 1: I used stretch magic, pearls, Swarovski Elements 3 hole divider and scissors.

Step 2: Cut 3 12 inch stretch magic cords.

Step 3: Add your first row of beads ( pictured 9 beads ) but I actually ended up using 10. 

Step 4: After you added first 10 beads, add the divider. 

Step 5: Follow steps 3 and 4 until you have 30 beads and 3 dividers.

Step 6: Tie the stretch magic on double sailor's knot. ** See Below **


Step 7: Cut the remaining of the stretch magic off. 

Step 8: Add the second row of beads in a similar manner as steps 3, 4, 5

Step 9: Tie the ends of the strench magic together. ( Refer to the picture )

Step 10: Cut the remaining stretch magic off. 

Step 11: Add final, third row in a similar manner as the previous two. 

Step 12: Your bracelet is ready to wear !


This design was very easy to make and required very minimal effort and supplies. This is definitely a beginner bracelet, but despite its simplicity, it looks classic and well put together. It took me 23 minutes to put together and here is the final outcome:


Check back soon for more tutorials and beading articles !