Showing posts with label bare sandals. Show all posts

Monday, May 4, 2015

Secret Garden Photo Shoot Sneak Peaks

This month Bare Sandals was given an amazing opportunity to work with Pilar Ilo, from Vintage Mingle.

The photo shoot's theme was "secret garden" and some amazing vendors were represented by the gorgeous models. 

Here are some sneak peaks from the shoot:


Credits:
Photography: Lindsey Hemming
Florist: Lora Losinger
Dress Designer: Cindy Boggs
Footwear: Bare Sandals 
Hair / Make up: Kendall Gerrard 
Bakery: Chanell Sabo
Ribbons: Julie Walters 
Invitations: Amanda le Doux
Vintage Rentals: Pilar Ilo


post signature

Sunday, April 19, 2015

Bare Sandals May Giveaway - Score a FREE pair of Barefoot Sandals

Want to score a FREE pair of Bare Sandals? There has never been an easier way!
We are hosting our first Instagram Giveaway! 

The rules are simple:
Log onto your Instagram page and like our Instagram page ( @baresandalsllc ). Next, find this pic:

Simply comment which pair is your favorite and you will be automatically entered into our May  giveaway for the chance to win one of the above pairs ABSOLUTELY FREE. 
No commitments, no newsletter sign ups and no drama. 

Results will be posted on our page, our Facebook, and Instagram on May 30th :) post signature

Tuesday, May 20, 2014

Blush Rose inspired Bare Sandals

When I used to model for Ford Models I got to work with many different designers and photographers. The experiences weren't always the ones to "brag about", but overall it was an interesting time in my life. When I was about 17 I got booked to do a photo shoot for a wedding dress designer - Janell Berte. Janell was located in Lancaster, PA. I've modeled some wedding dresses before that but nothing came close to my first photo shoot with Janell.
We met an an old, abandoned factory and had a "Marie Antoinette" style photo shoot. I had huge hair, amazing dresses and the whole day was pretty amazing. Here is a picture from that first shoot:


Since the first shoot, Janell and I have kept in touch and even after I have stopped modeling "officially", she would still call me over for an occasional photo shoots or a show. Eventually, I got engaged and really did not even go on the typical "dress hunt" before my wedding. I walked into her salon, tried on two dresses and ended up getting one of the two that I tried on. That was it. 


During the 2012 NY Bridal Fashion Week, Janell designed a beautiful dresses that were very different. They were blush. The color was so elegant and so delicate, that they sure were a sell out. 

Here are some pictures of the blush rose gowns:


What I really liked about the gowns was that they were simple, classic and timeless. You truly felt like a princess wearing the gowns. This is exactly where I got my inspiration from for my next beading project. 

I wanted to create a "blush" barefoot sandals, which could be worn with a white, ivory and a blush dress. Since the color of Janell's dress was so delicate, I had to find the perfect beads to match. 
There's no better place to buy beading supplies than ETSY, so I ended up purchasing the tiny 15/0 seed beads from Tamara Scott Designs.  She had the perfect size, tiny beads that I was looking for and was able to get them to me in a record time. 
Next, was my hunt for the perfect "blush" pearls. I did not have to look too far.  A.C.Moore had just the right shade of pink I was looking for. 

I wanted to create a simple pair, but I wanted it to be different, unlike anything else in my store. So I  ended up creating a simple, cross stitched pattern of the sandals, but with a twist... The cross pattern was embedded with the tiny seed bead I had purchased from Tamara Scott Designs. 

The end result was perfect - 


I was so happy with the pair, that I couldn't wait to make more and ended up purchasing 8 more packages from Tamara's store.  

Please click on the following picture to find out more information about the pair, and how you can buy one of your own !


Thanks for reading! Until next time, Anna M :)


Sunday, March 30, 2014

New Barefoot Jewelry items on Etsy

I have been extremely busy working my regular job and had very little time recently for blogging and spending some time on beads. But despite being swamped with standardized testing prep at school, coaching middle school track and jury duty, I somehow managed to add some new items in my shop.

The inspiration behind all of the items was, obviously, the upcoming summer.

I also decided to experiment with chained barefoot sandals. Even though, I absolutely LOVE working with beads and wouldn't give it up for the world, chained barefoot sandals are actually VERY fun to make as well. Not to mention they take 1/2 the time LESS to create.

Here are some of the newest items that are available for purchase in my ETSY shop. Please check them out and let me know what you think by commenting after the post. Any feedback would be great. I truly appreciate your suggestions and want to know about what items people love the most.

** Remember, if you would like to be in the running to receive a pair of your favorite earrings, rings or a bracelet, check out the previous blog post about how you can be in the running to win your favorite item. **


Bridal Soft Aqua Barefoot Sandals


Asymmetrical Bare Sandals 


Stunning purple and silver wire wrapped ring


Turquoise, purple and orange beaded sandals


First chained barefoot sandals pair ever! Peace and Lotus flower. 


Chained blue and coral barefoot sandals 


Surf beach wave chained barefoot sandals


Nautical Memory Wire 3 loop Bracelet


Bohemian Tribal Memory Wire 5 loop Bracelet


Minimalist stretch bracelets - set of 3


Again, please let me know what you think. I am constantly looking for ways to improve my designs and would love to hear your feedback!


Wednesday, March 19, 2014

Our first craft show - The 100% handcrafted show in Robbinsville High School, NJ

    After a week of preparations, ordering flyers, creating inventory and practically beading my life away, the fair was finally here. Mom and I woke up at 6:00 to get up early, have decent breakfast and be on our way. Luckily, the fair was happening in Robbinsville High School, which was only 15 minutes from our house. Despite the short distance, the GPS decided to play "Guess which way to go" game and we arrived 30 minutes later. 
We checked in, found our space and began unloading the car. I really liked the school - it was a HUGE building with tons of light and space. We even had students help us with loading and unloading of the items ( big plus ). 
We set up our space in no time. Even before the fair had officially opened to the public. The time went by super fast, but since there was two of us - we managed to set up the booth pretty quickly. 

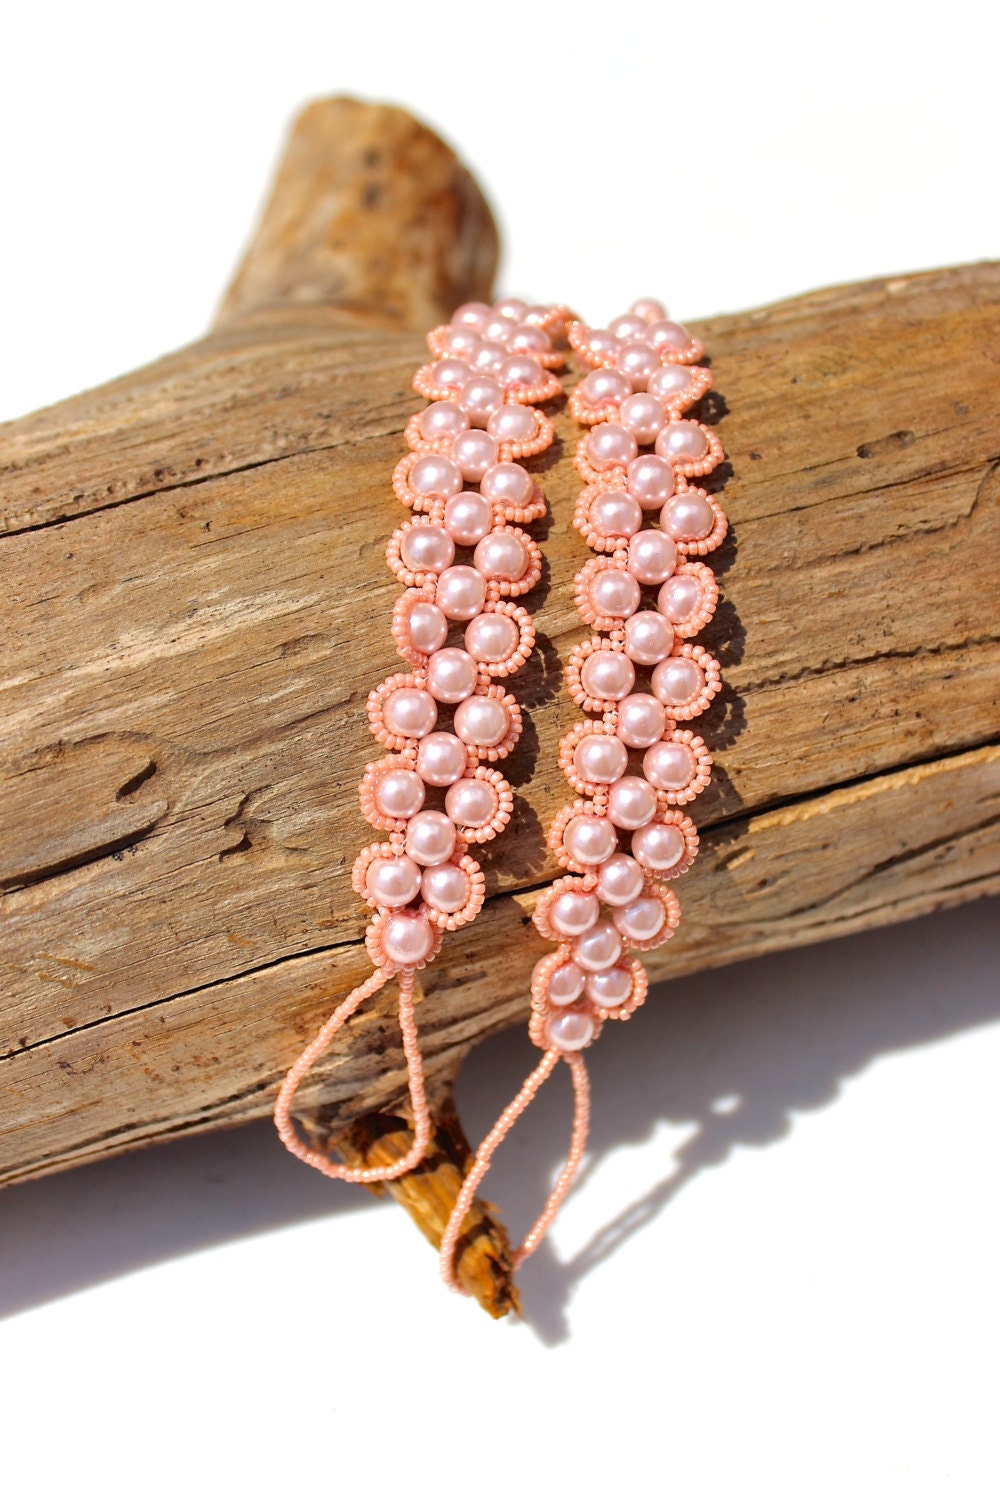
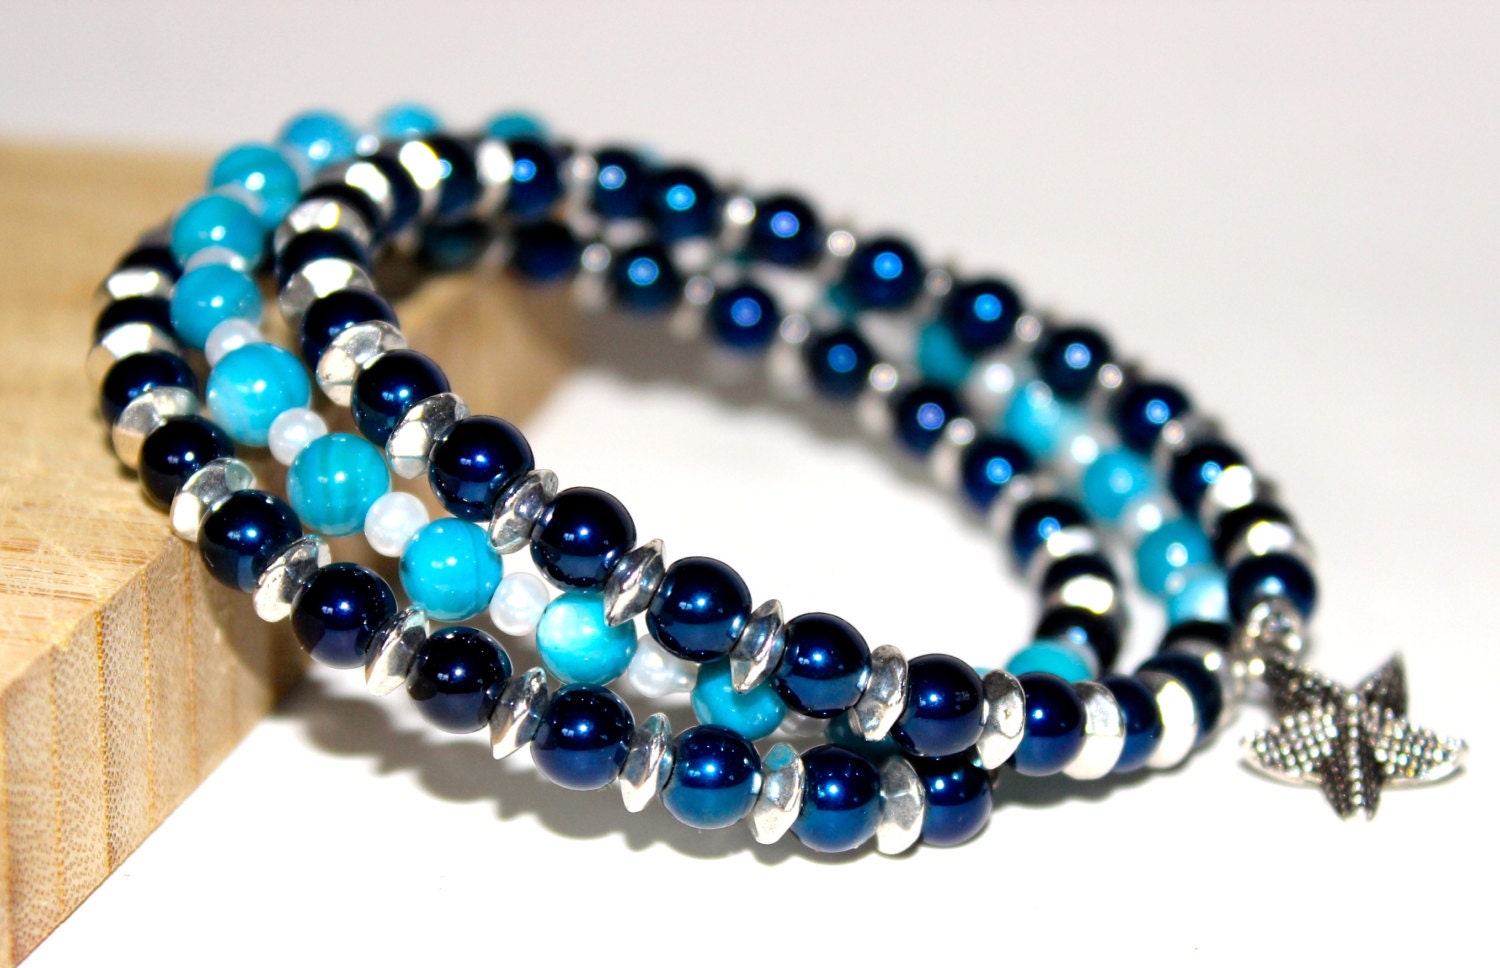
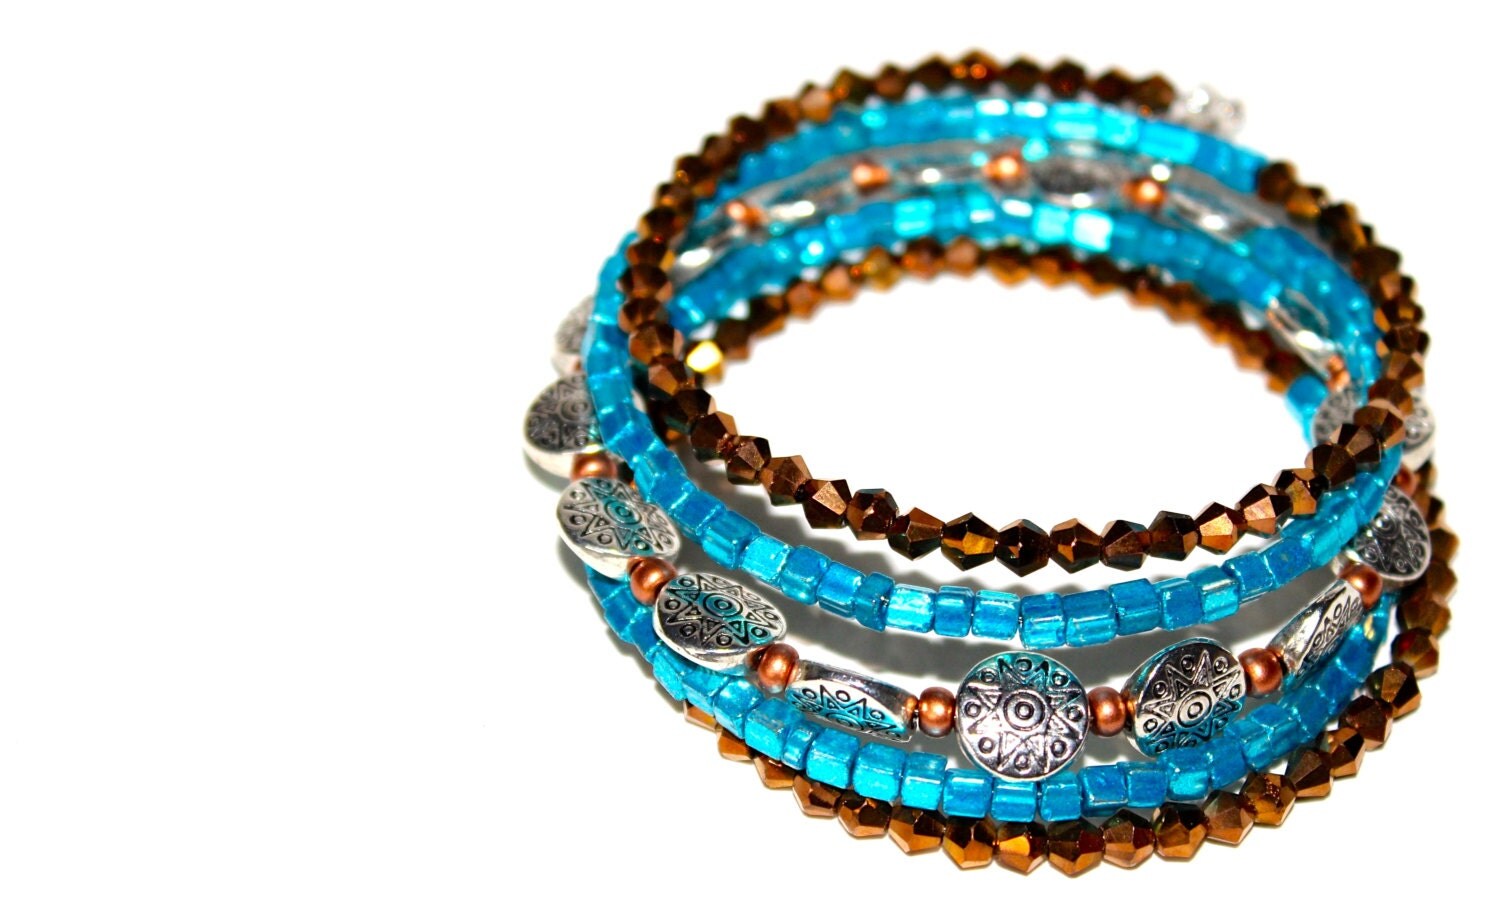
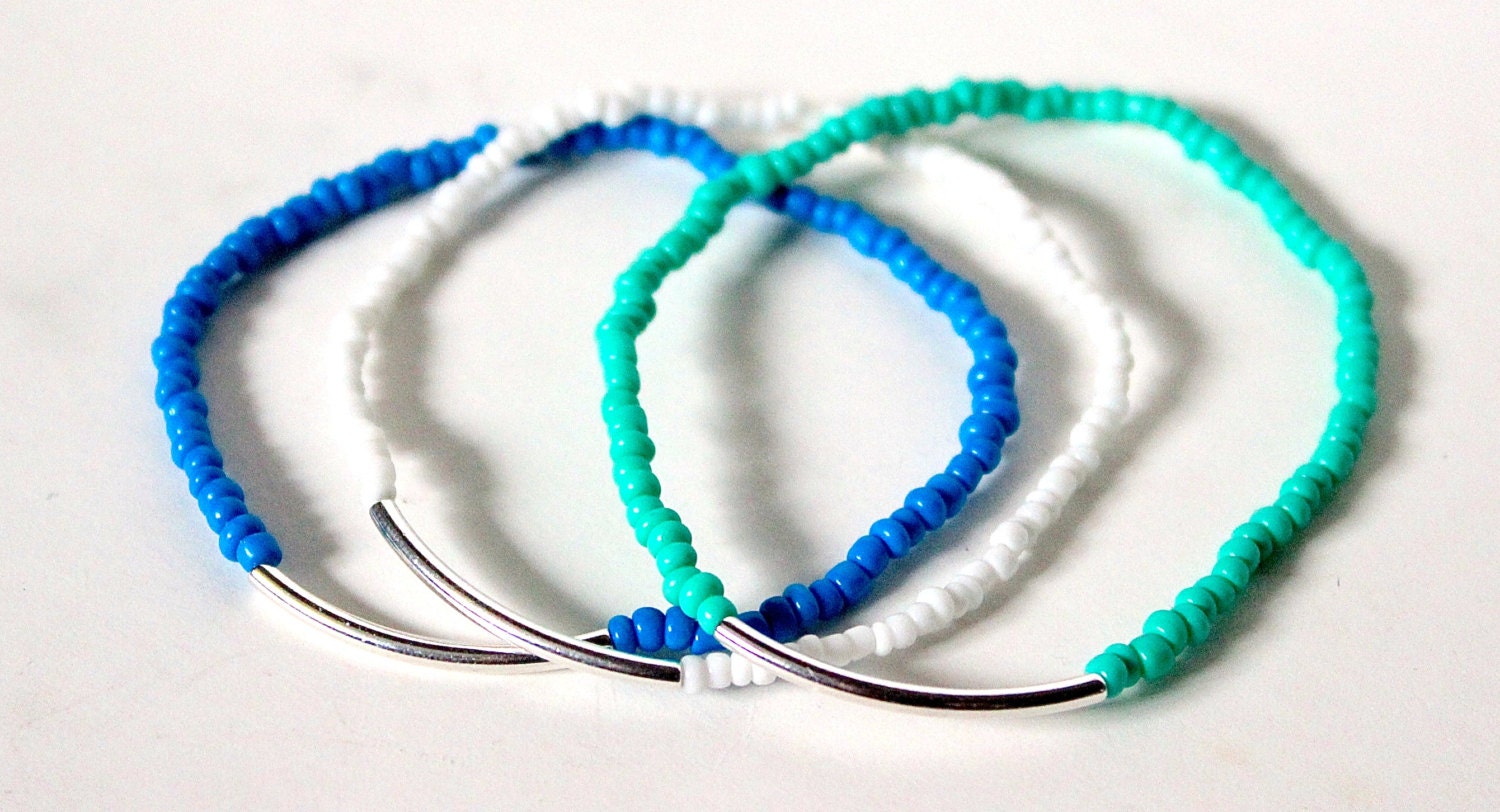
Here are a few pictures of what it looked like. 


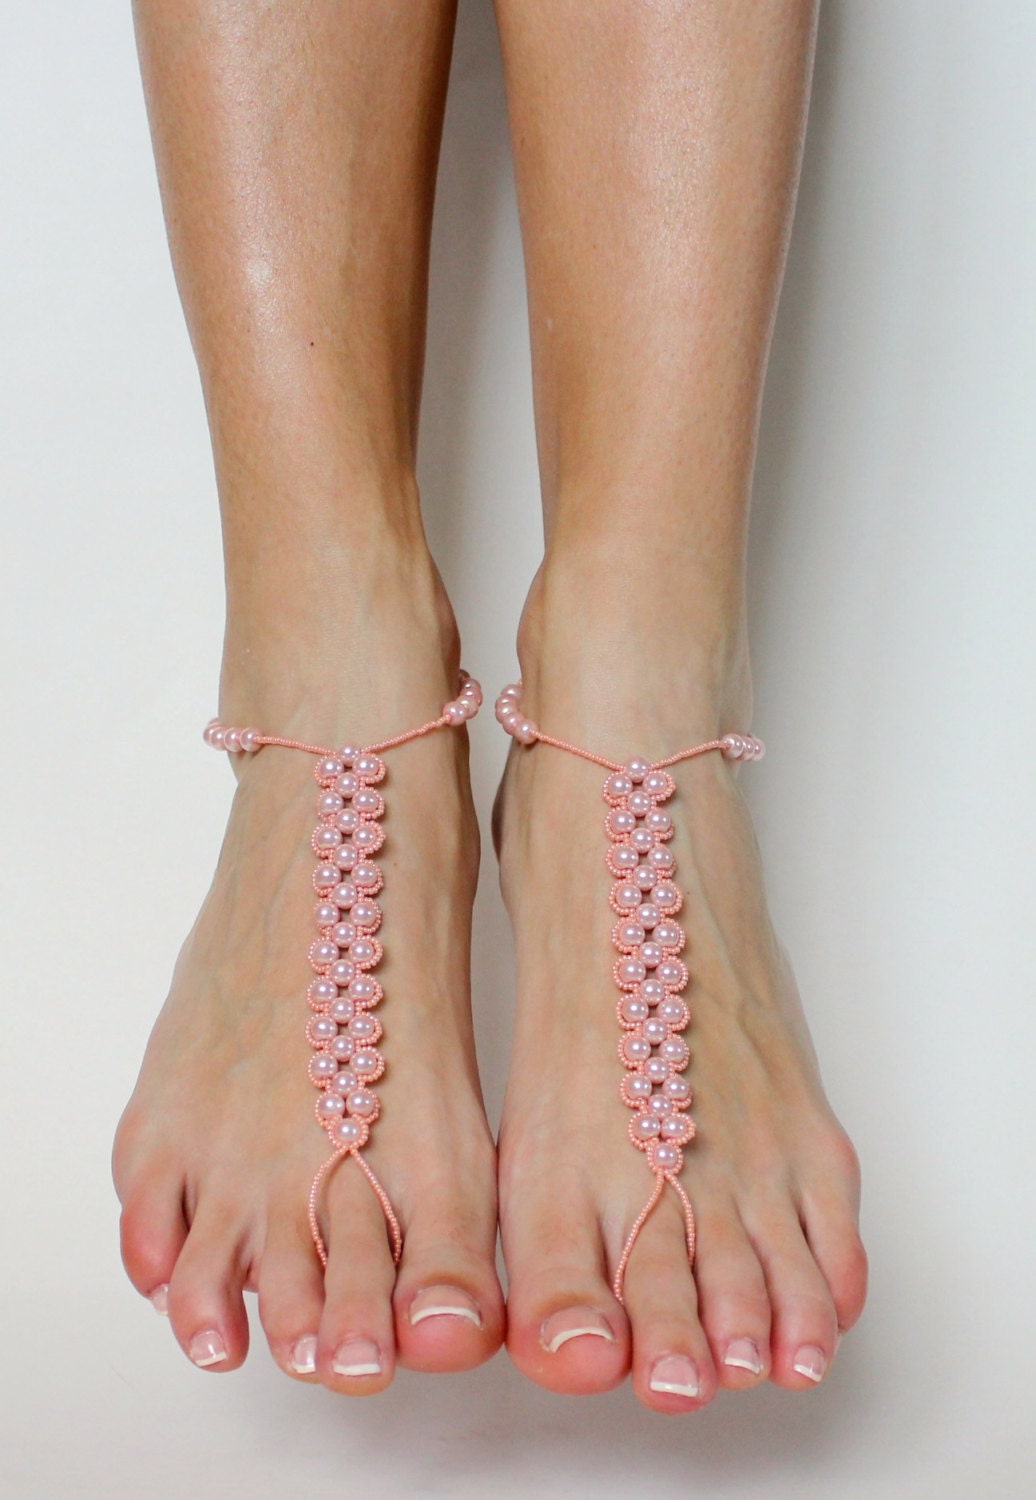
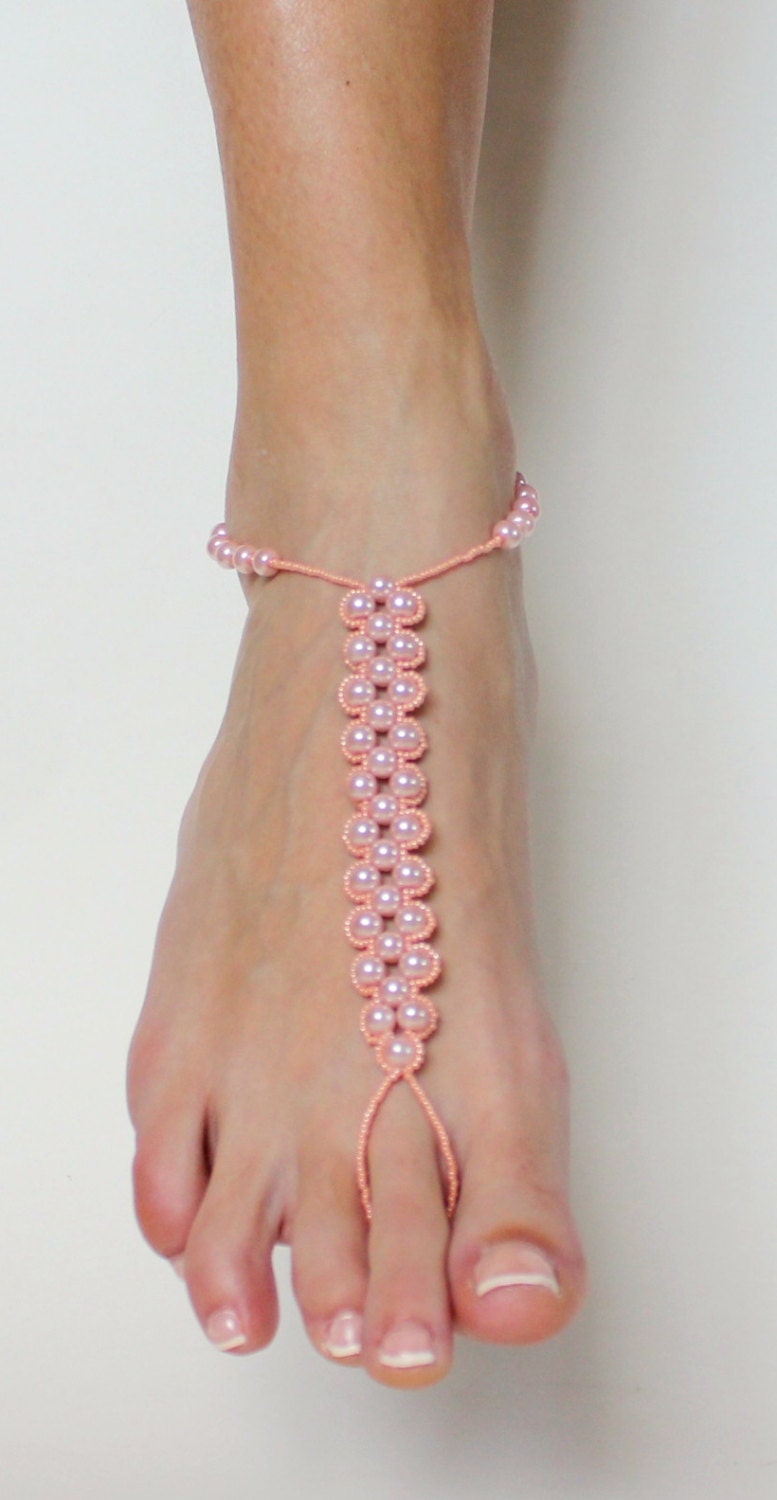
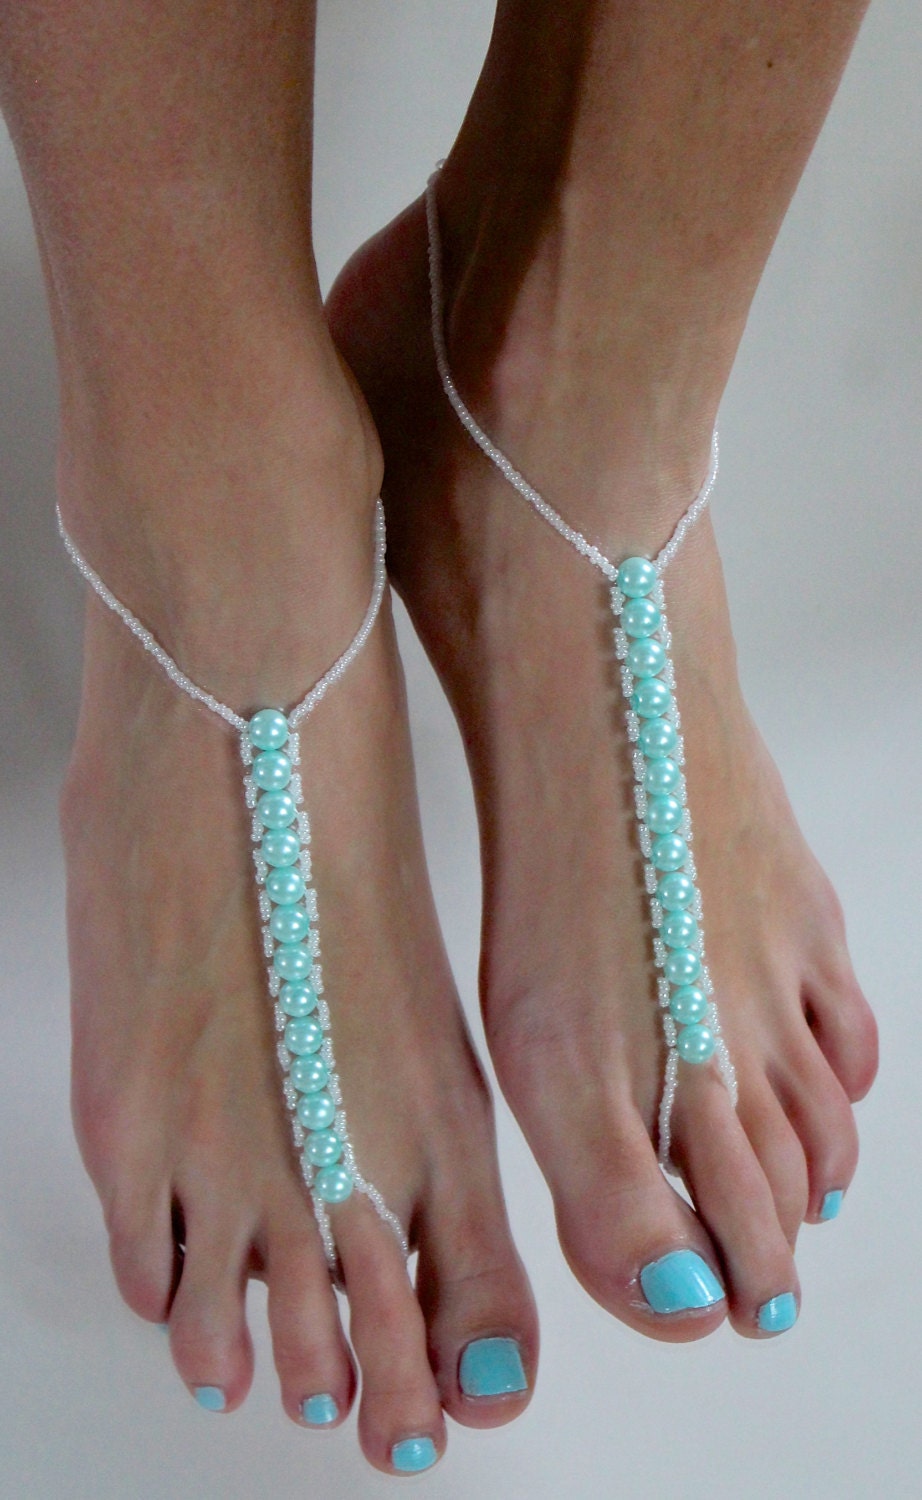
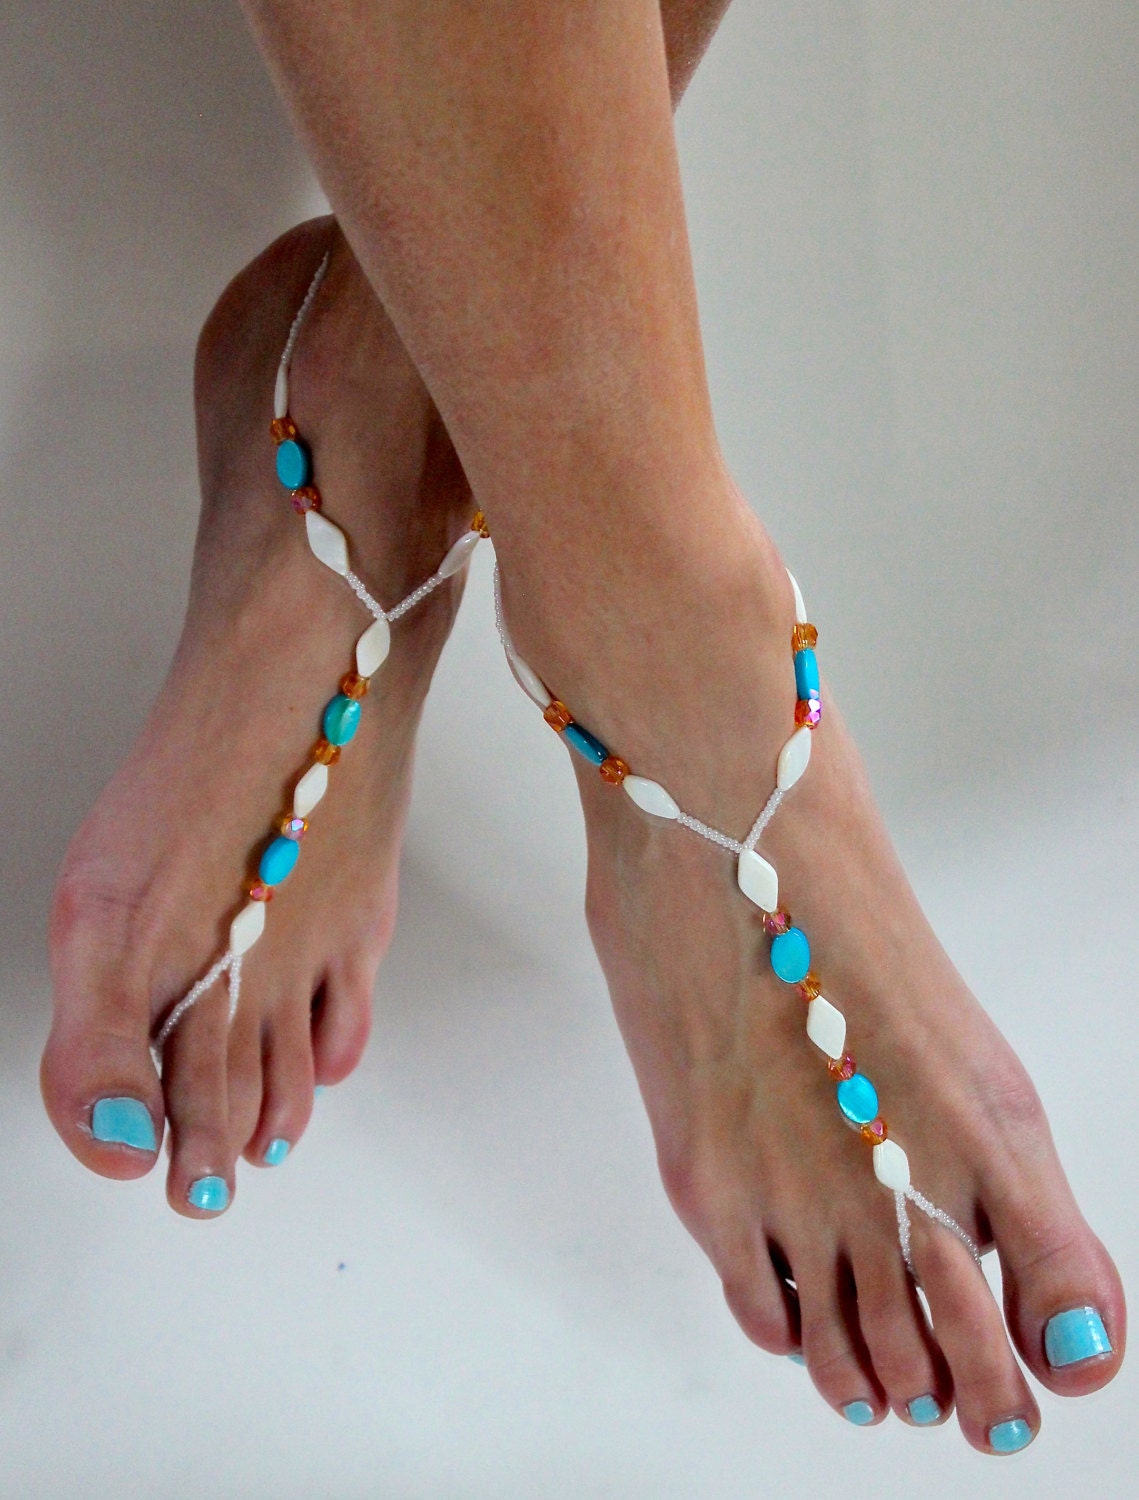
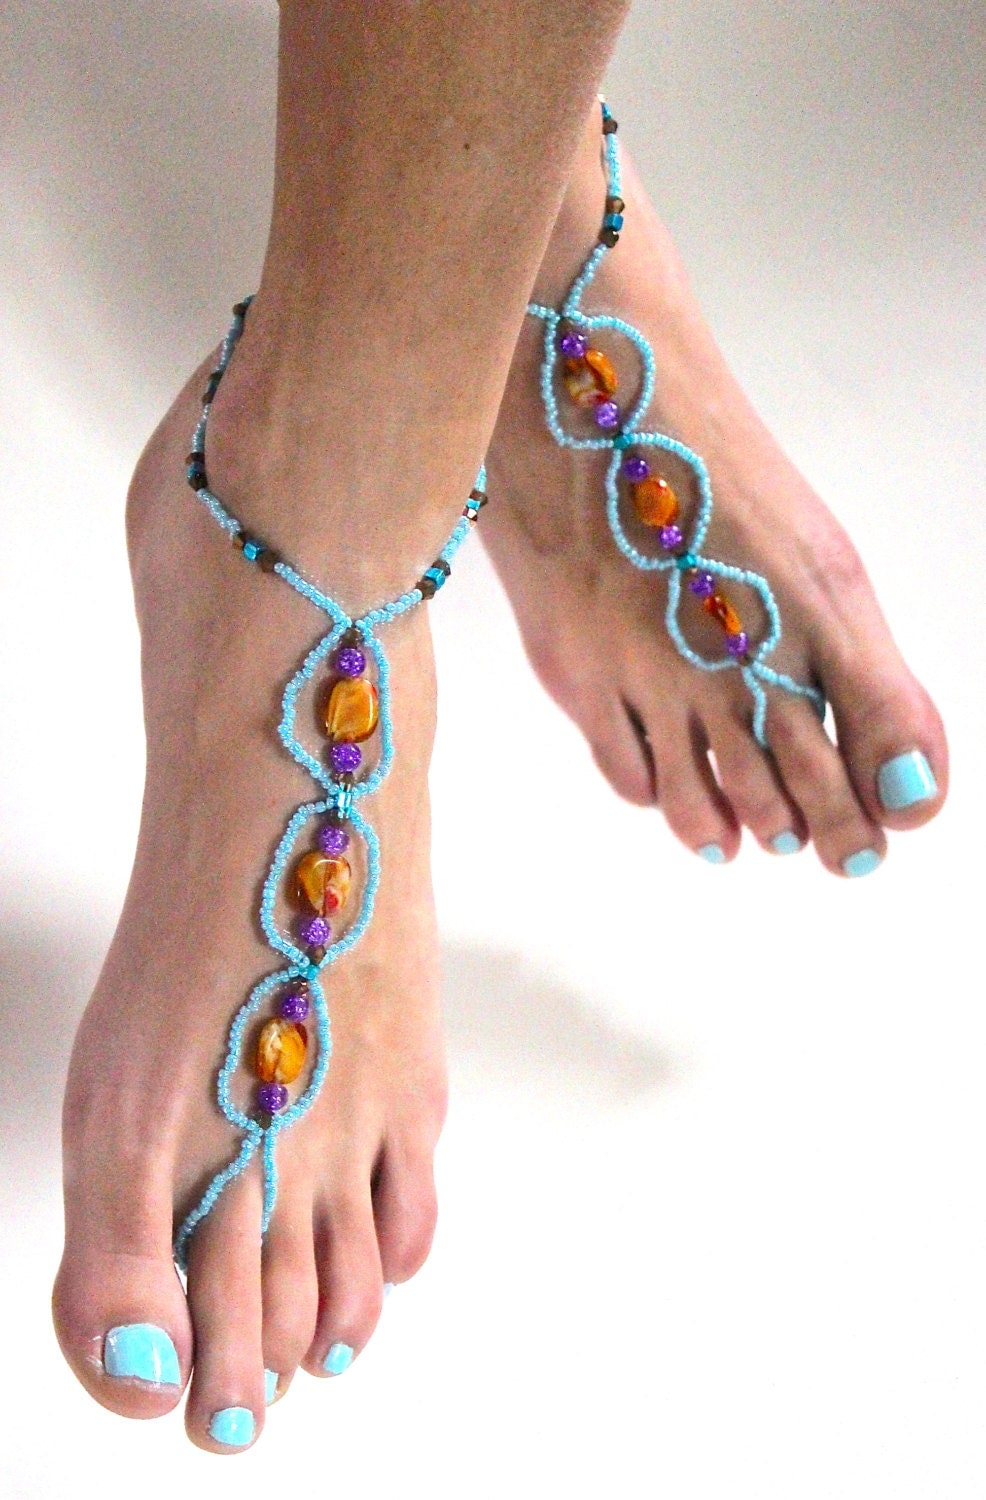
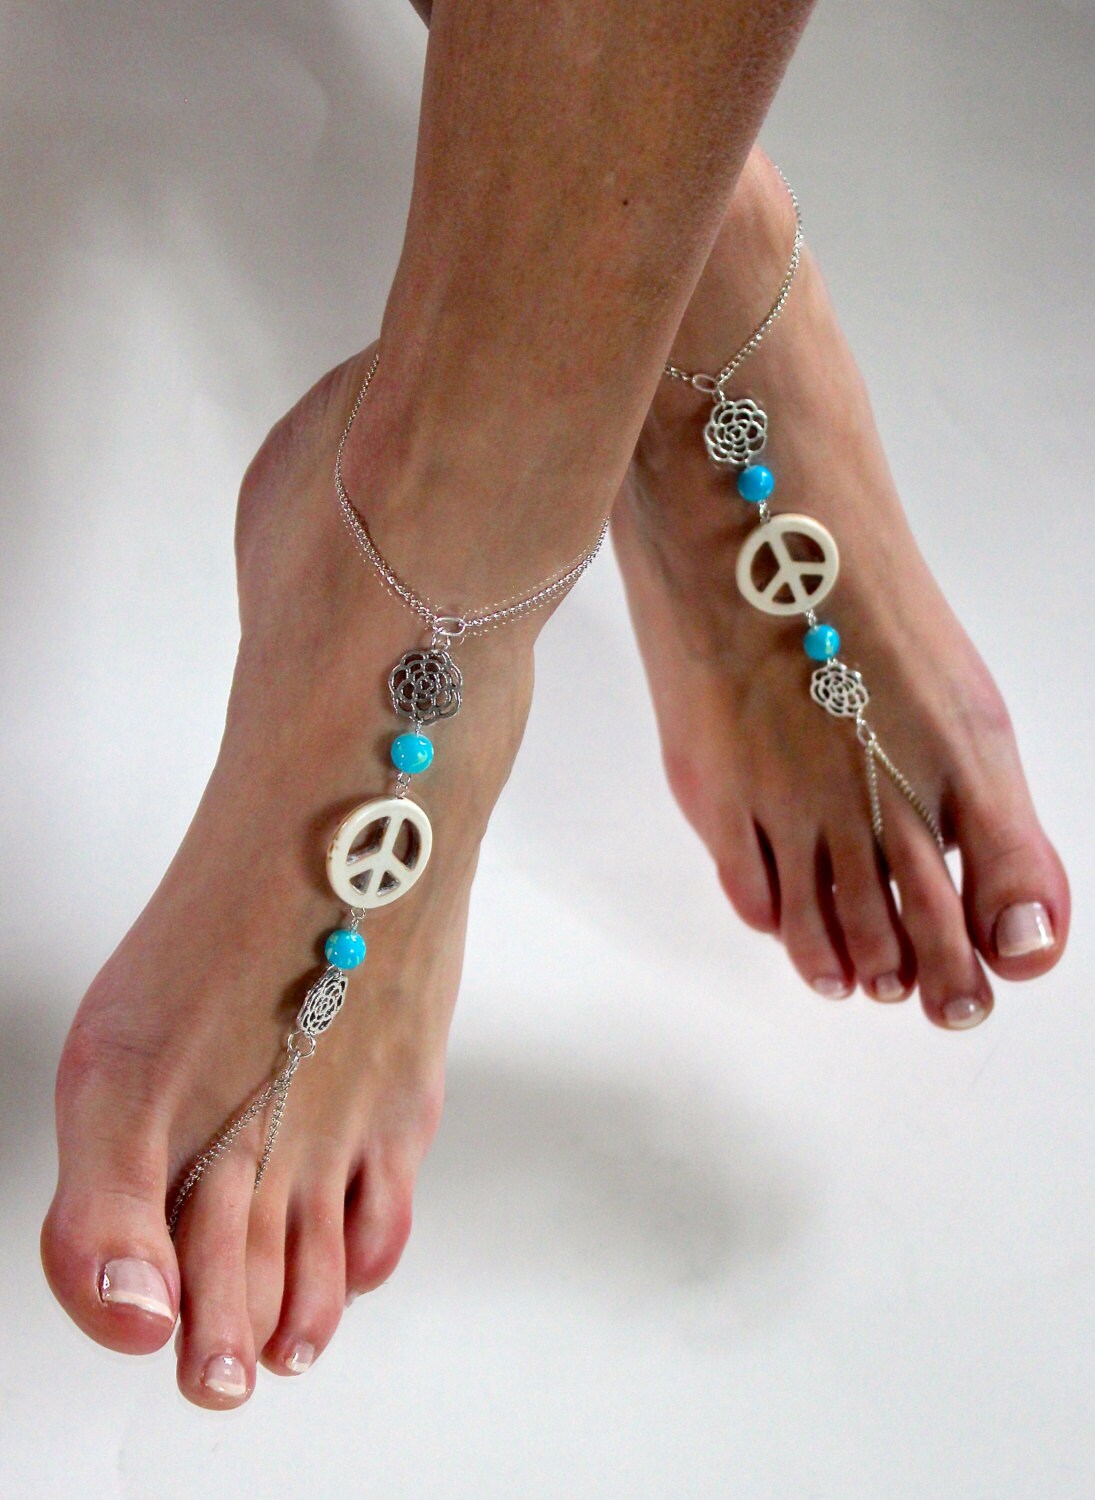
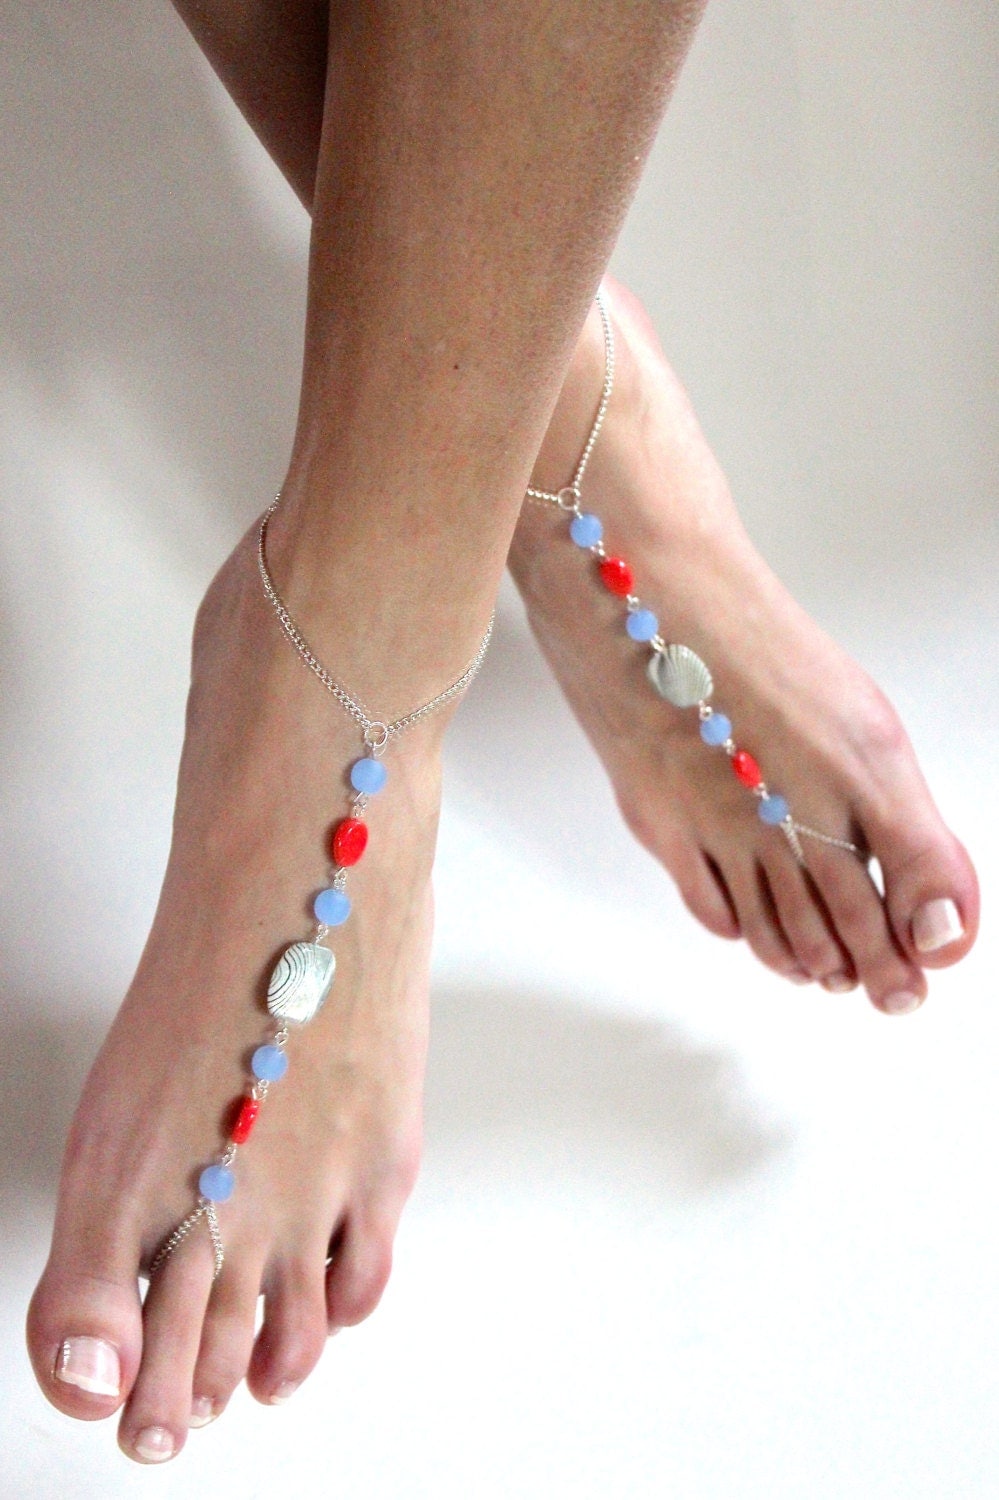
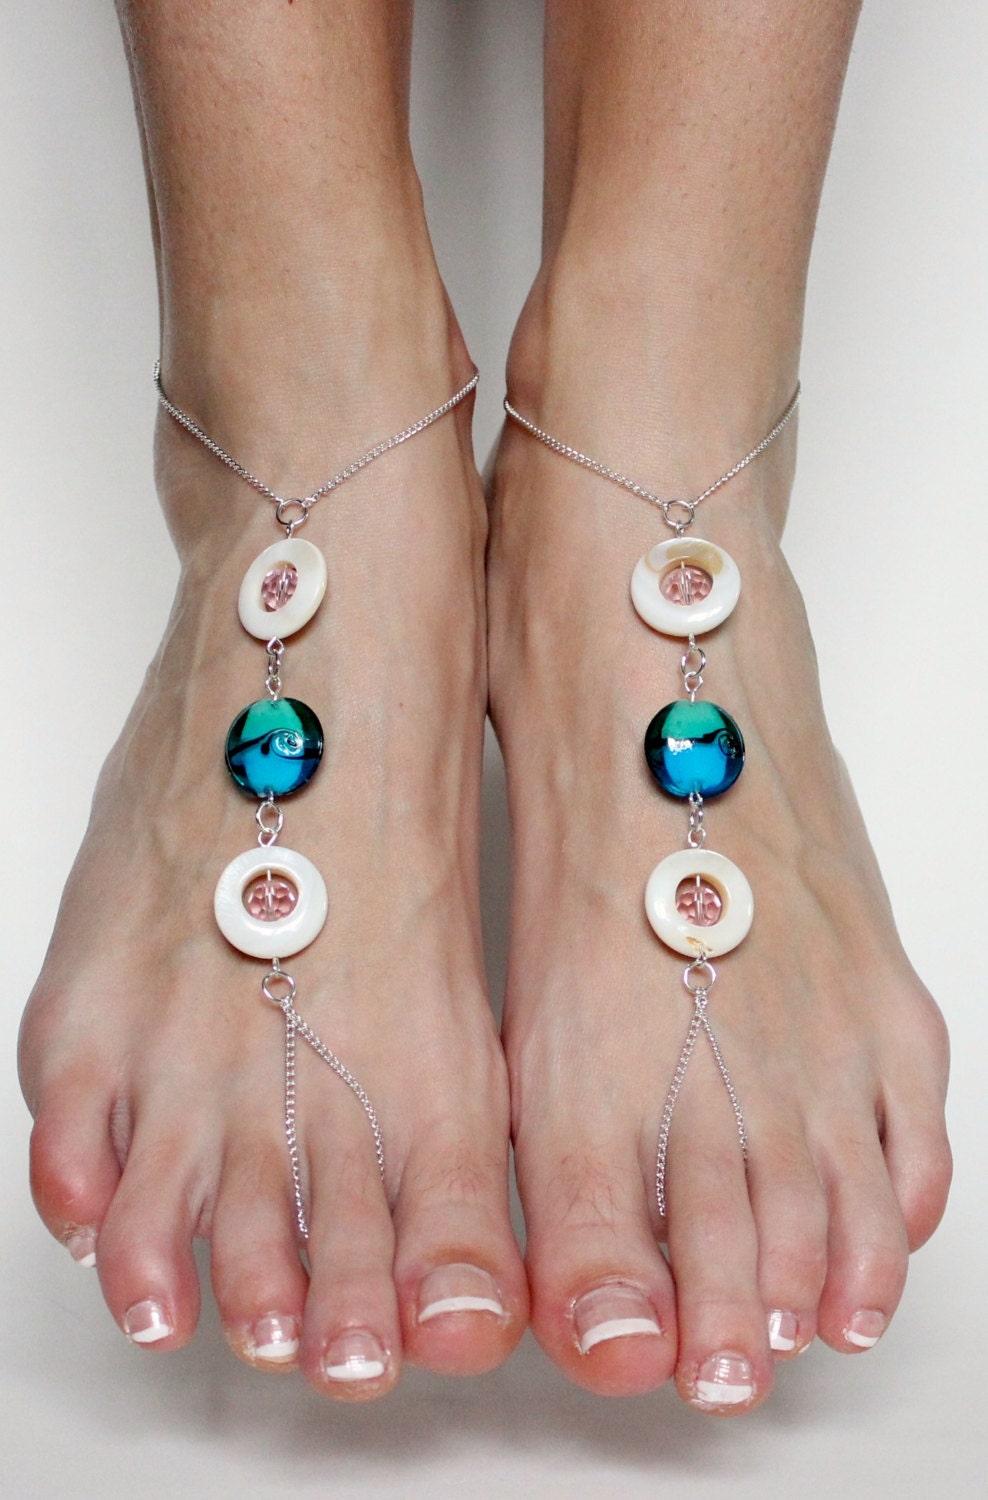
After 10 AM the customers finally started to come in. It was a slower start, so to keep myself entertained I began beading and ended up creating a silver pair of barefoot sandals. 


Not soon after I started work, our first customers made their way to our booth and we ended up selling 3 pairs of earrings and 1 bracelet.

Here is the picture of the lovely ladies who "made history" by becoming our first customers at the fair. 


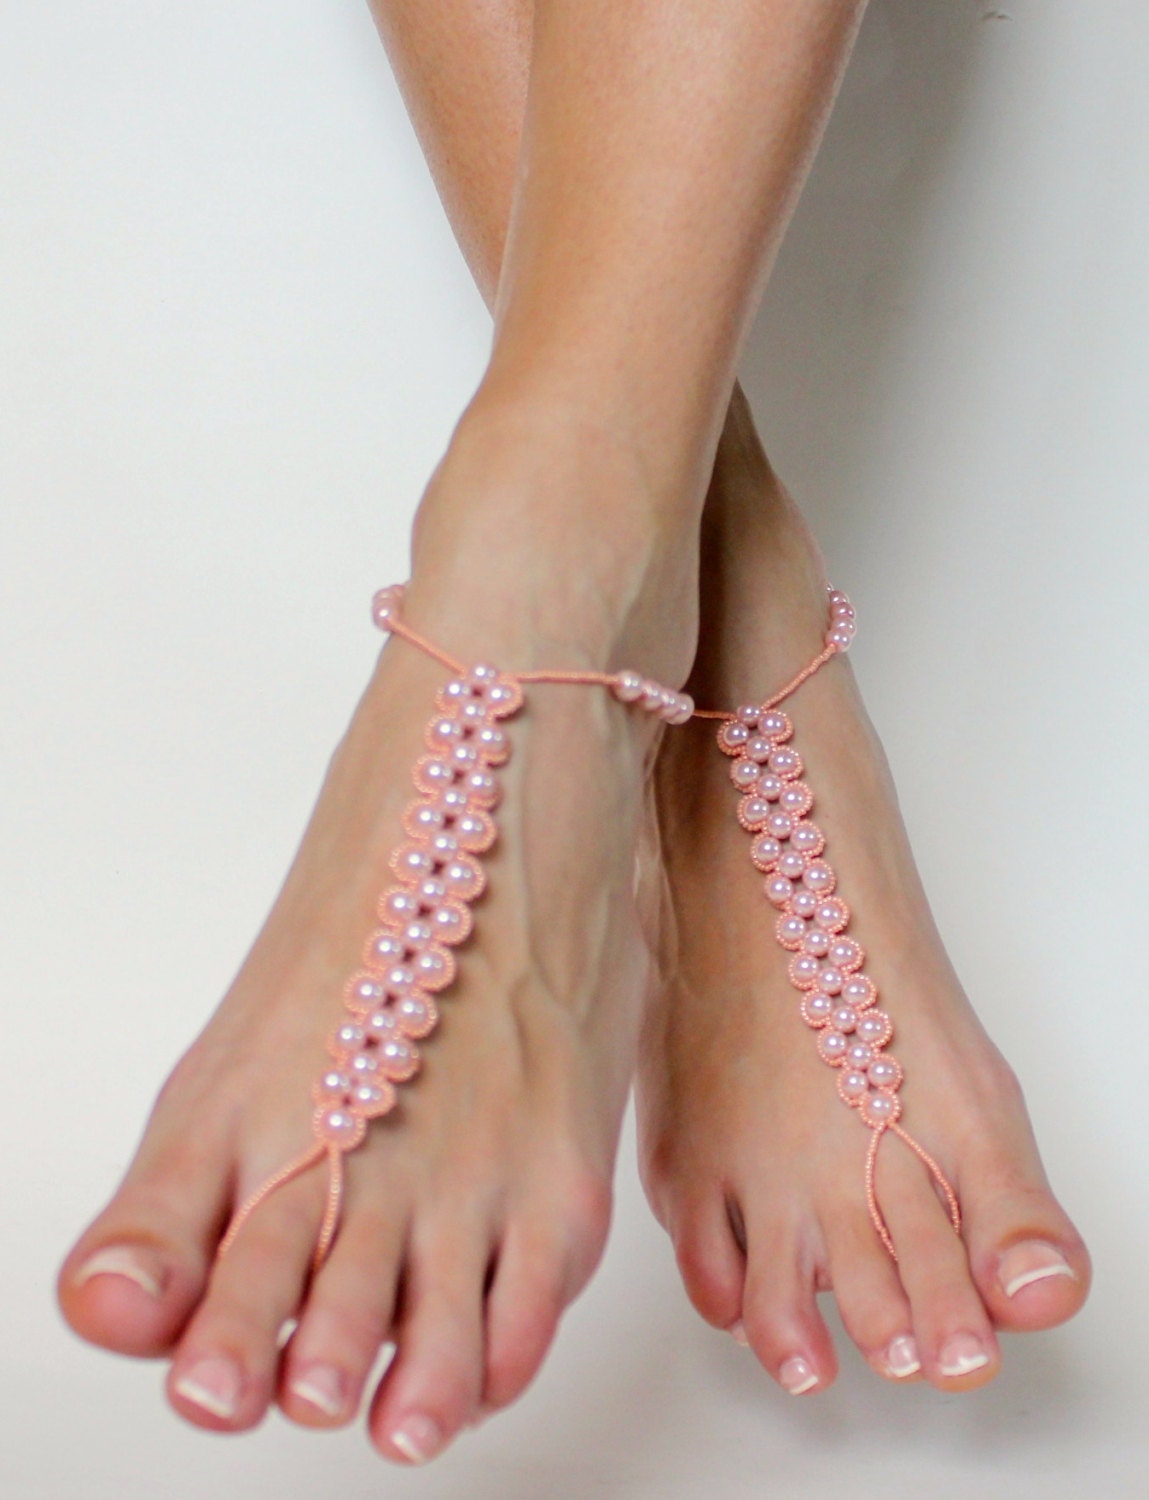
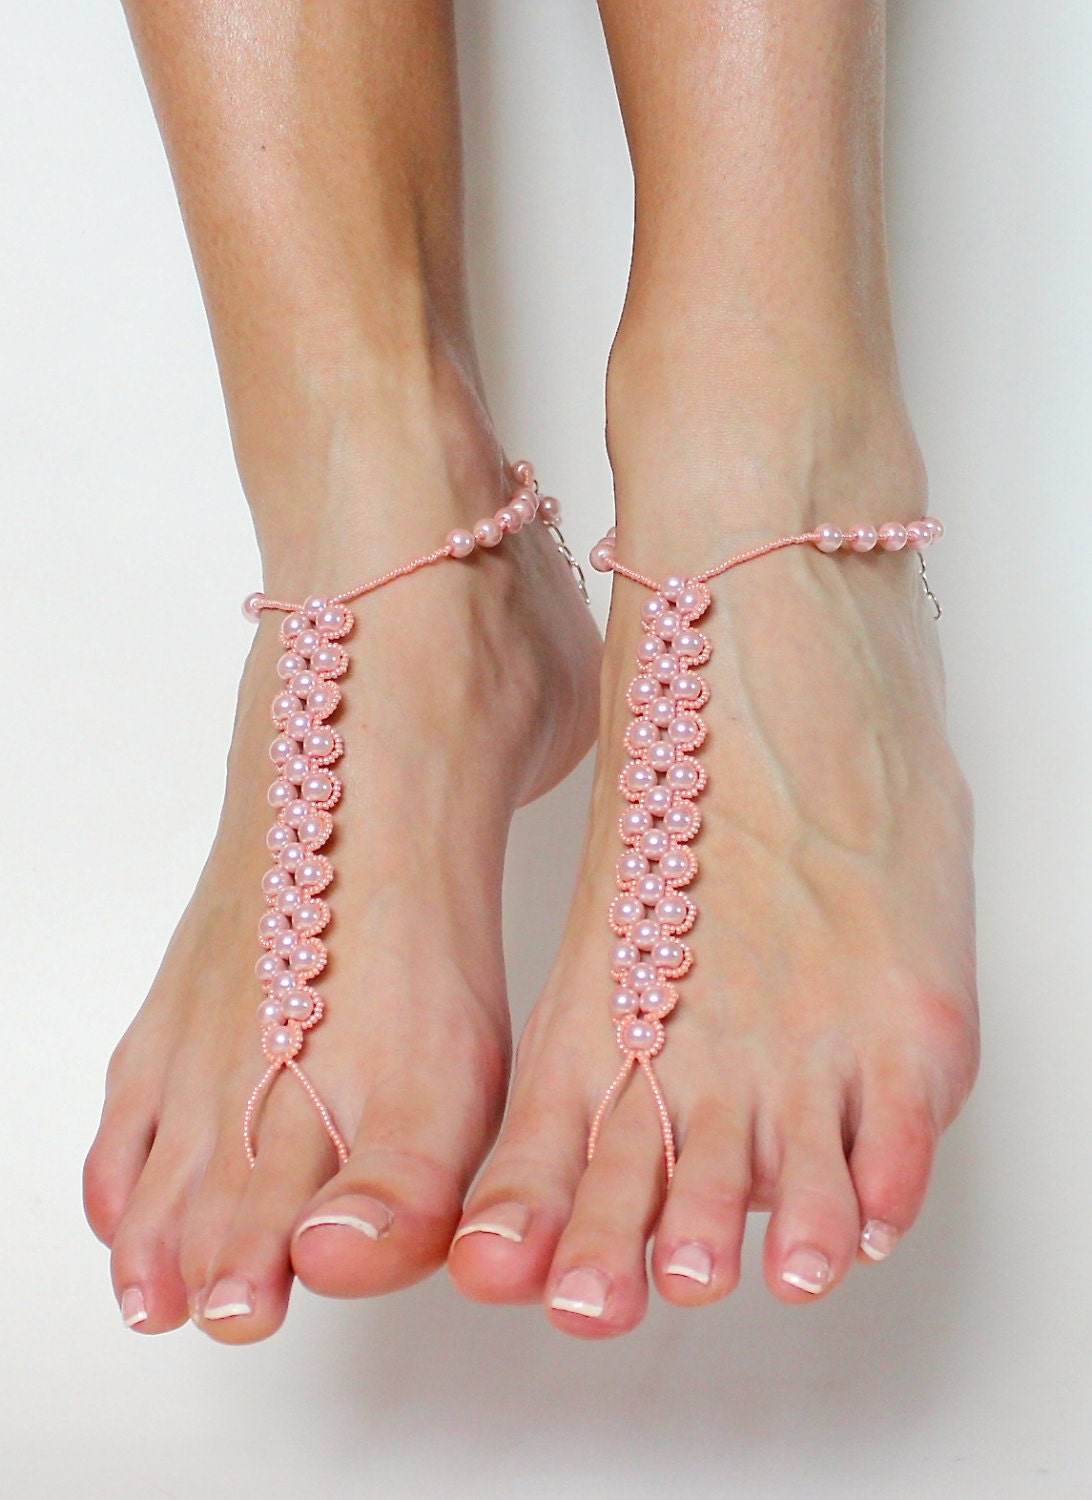
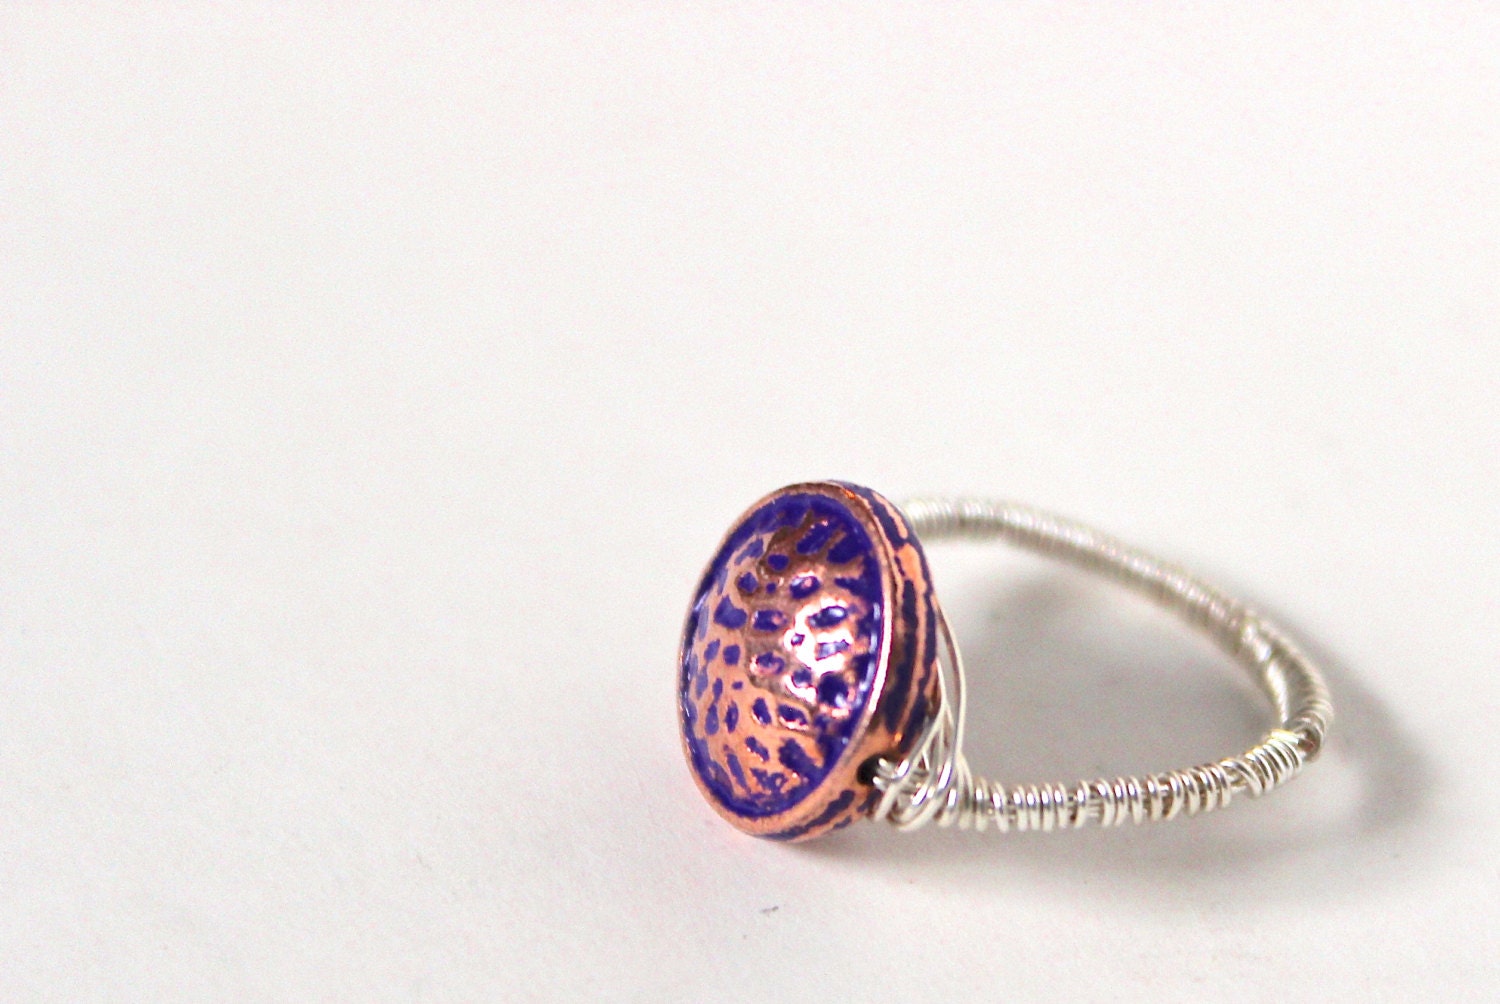
After a while, we sold more and more items. I was surprized that people were actually really interested in sandals  AND earrings and rings. 
Note to self - make more rings next time.

My mom-in-law stopped by and she brought beautiful orchids which made their way to the display table almost immediately. She ended up buying earrings, bracelet and a pair of Bare Sandals. THANKS MOM!

Here is a picture of both of my beautiful moms together :)


As the day went on, we continued to have fun and talk with the customers. It was a great experience. Making connections was essential. We felt like we definitely spread the word out to a lot of people. I think having flyers and business cards out on the table was A MUST. 

Towards the end of the day, we ended up with a decent profit, lots of positive comments and great feedback from our customers. Here are a couple of other  pictures from the fair:


In conclusion....

Fairs ....

a. lots of work !
b. require a lot of free time to build up inventory
c. require lots of PROMO materials ( or at least some )
d. MUST BRING MOM - she ended up being an awesome sales woman and was talking up a storm with the customers. 
e. could be very profitable - depending on your spot and your product
f. A GOOD TIME ( if you are with the right people ) 
and...
g.  are very good for some sellers, and not so much for others. We had a busy booth, while some of the other sellers did not. I think each person who is selling some sort of handmade goodies, must do at least one or two fairs in order to figure out whether selling in person is something they would like to do. I never realized how much work it is until I actually began preparing for this fair. We were happy with the outcome and looking forward to The Ocean Grove Giant Beach Fair on June 22nd, 2014. 

Check back Saturday for an announcement on my SPRING GIVEAWAY!


Thursday, March 13, 2014

DIY Earring Display Idea

As you know, I have been actively preparing for my fair which is coming up in 2 day ( holy **** !!! ). By not only beading my life away but also pretty much living between Michaels, A.C. Moore, Hobby Lobby and Joann's I have been actively trying to "broaden" up my collections and finally get everything ready. As a result I decided to put Mike to work, yet for another DIY project of mine.

Here we go!

To begin the project you will need:
 - 1 wooden picture frame
 - 6 - 8 one inch , skinny nails ( depending on how many rows you would like to have within your frame.
- hammer
- a drill

_________________________________________________________________________
Step 1: Take your wooden frame, and measure where you would like to place your earring lines. Mark those spots with dots. These spots will be helpful to you when you place the nails in the appropriate spots. 


Step 2: Have your nails ready. I used 6 nails and they were the skinny type with a pretty wide head. The wider the head of the nail, the easier it will be to tie your thread around it. 


Step 3:  Grab a drill !


Step 4:  Drill very small holes in the spots where your nails will go. Make sure you drill straight down, otherwise your thread lines will be cricket. Then, take the hammer and hammer the nails into the holes. Depending on the type of nails you have you may completely skip the drilling of the holes. Make sure you leave about 5 - 3 cm lead room on the nail. 


Step 5:  Take your thread and tie is around the nails. Make sure the thread is very snug against the nails. This was the most trickiest part of the process. Since my nails's head was not wide enough to hold the thread in place. I used crazy glue to secure the thread in addition to tying it around the nail. 
You may need to do this a few times to get the hand of it. 


Step 6: Pick your background. I used "beach theme" paper to compliment my collection at the fair. 


Step 7: Scotch tape or hot glue the background paper to your frame. 


Step 8: Flip you frame, put in on a decorative stand and put some earrings on it - you are all done !


This was a super easy project to do and took less than 20 minutes. The frame looks great and total cost of it was: 5.99$ - which was what I paid for the frame. Totally affordable and looks great!


       Please cheek back on Sunday for pictures from the craft show and another blog post !

- A. M.

Sunday, March 9, 2014

DIY Price Tags Idea

      My first craft fair is only a week away and this is officially a "panic" mode for me. Today, the entire day was spent on arts and crafts projects: I made Mike ( my husband ) make me a sign for the fair, drilll holes in the table, put nails into a picture frame and etc while I was filling existing orders and trying to wrap my mind around what I still need to do.
      As I was setting up my table, I realized I had these white, plain, boring price tags and I needed to do something about them. My whole table set up is very "beachy" and "summer" like and then there are these PLAIN white price tags. I had to do something about them…
     Suddenly light bulb.  I must go to Michaels ASAP !  So, I made a run to Michaels and bought colorful duck tape. I bought 4 different rolls. Each one cost me about $1.50. When I got home, I began my "duck tape" production and here is the outcome.


To make these fun price tags here is what you will need:
1. Scissors
2. Colorful Duck Tape
3. White / plain price tags. 


Next, you take the white price tags, and you wrap them into the duck tape until they are covered from both sides. 
After, you take scissors and cut around the price tag to off cut excess tape. 


The whole process is super easy and takes less than a minute to do!

As a result you get these awesome, fun and colorful price tags that are surely better than plain white ones.


Hope you enjoyed this short tutorial and will use it in the future :)

Check back on Wednesday for a tutorial on how to make your own earring stand. 

:) - A.M.